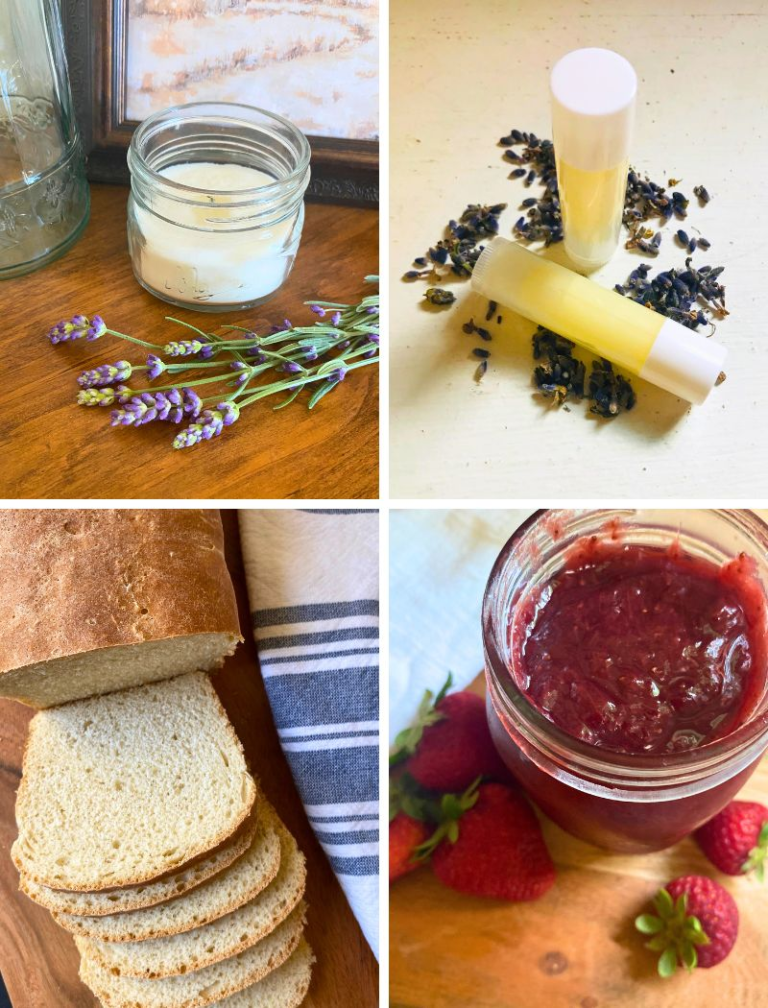
Homemade Soy Candles
This post may contain affiliate links, please read our disclosure policy for details.
If you’ve ever lit a candle to make your home feel cozier, you’re not alone. Candles just have a way of making everything feel calmer, warmer, and a little more peaceful. But most of the ones you find at the store are loaded with synthetic fragrances and ingredients you probably don’t want floating around in the air you breathe. That’s why I started making my own homemade soy candles—and trust me, if I can do it, you can too.
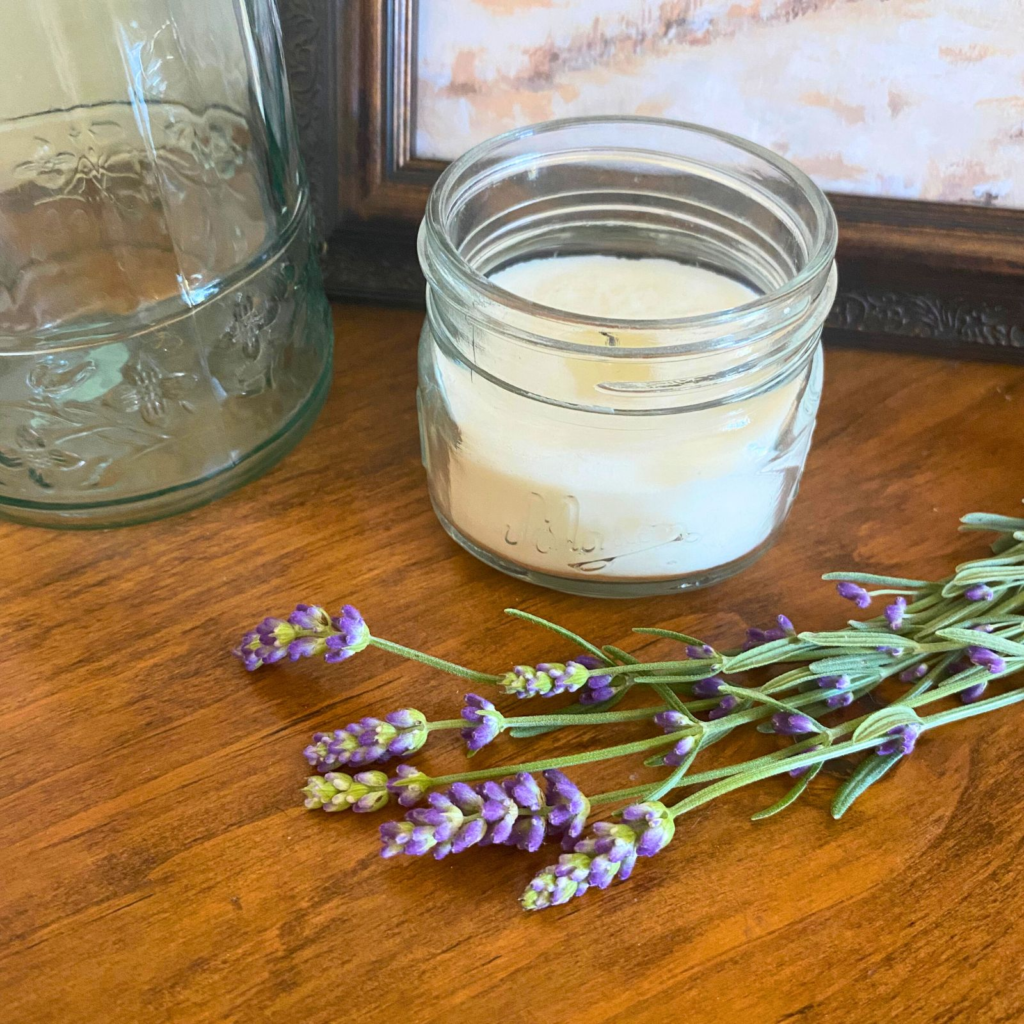
These homemade soy candles are super beginner-friendly, made with simple ingredients, and way cleaner than the average store-bought candle. You can scent them with essential oils, pour them into jars you already have, and even turn them into cute little gifts. It’s a fun weekend project that doesn’t take much time, and once you make one batch, you’ll want to keep going.
Why You’ll Love These Homemade Soy Candles
Tools You’ll Need to Make Homemade Soy Candles
Here’s what I use when making soy candles at home:
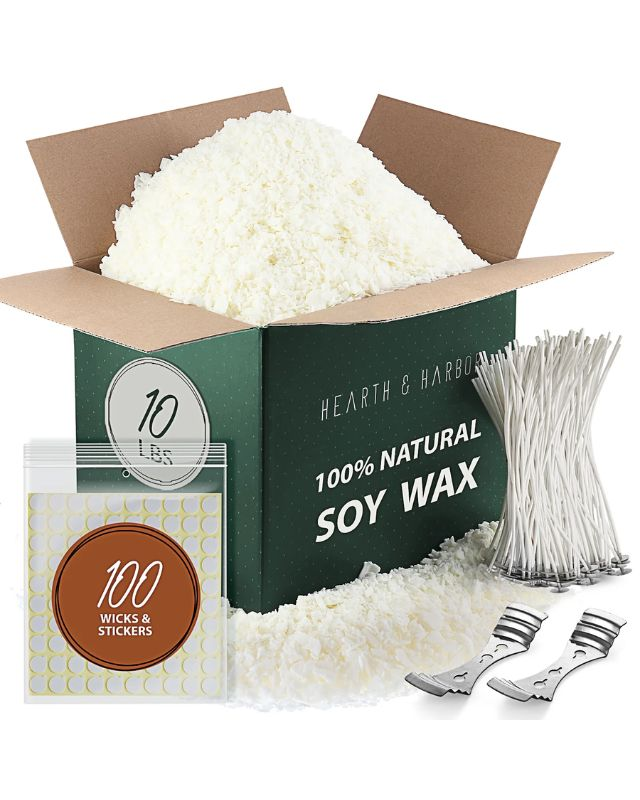
- Soy wax pellets
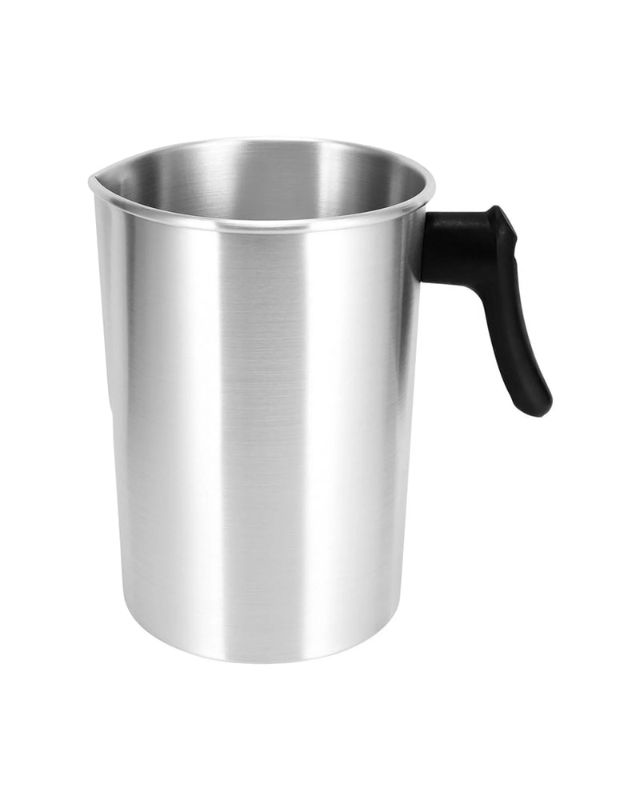
- Pouring pot or heat-safe metal container
- Large pot
- Wicks
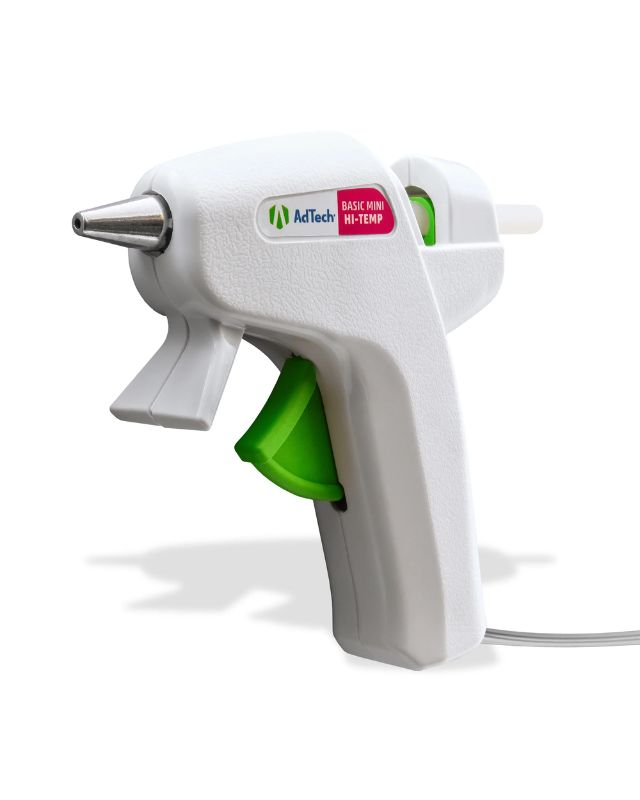
- Wick stickers or a glue gun
- Wick holders (or clothespins)
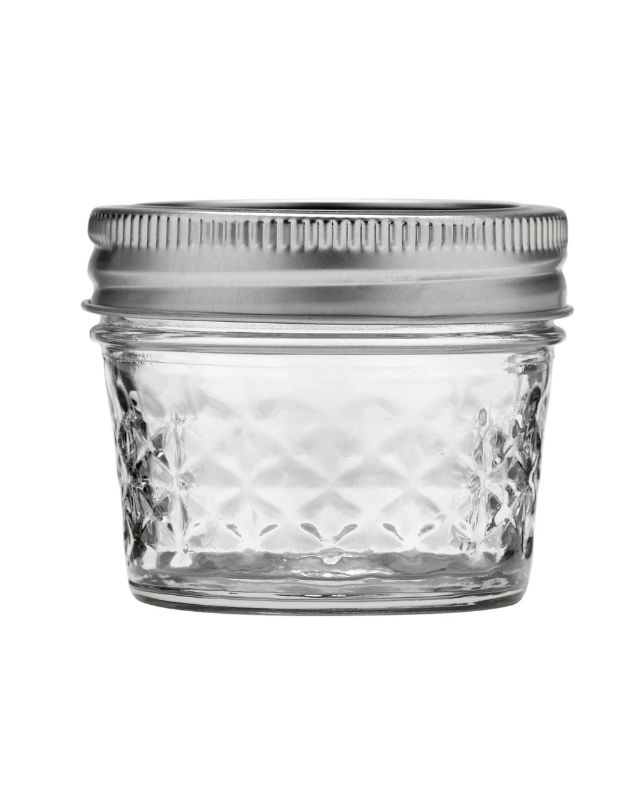
- Mason jars or cleaned-out candle jars
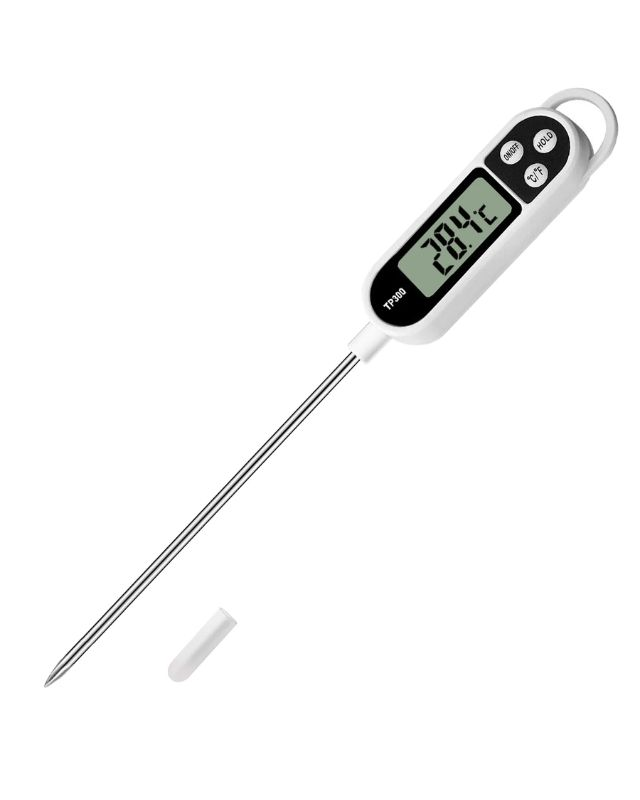
- Kitchen thermometer
- Spoon for stirring
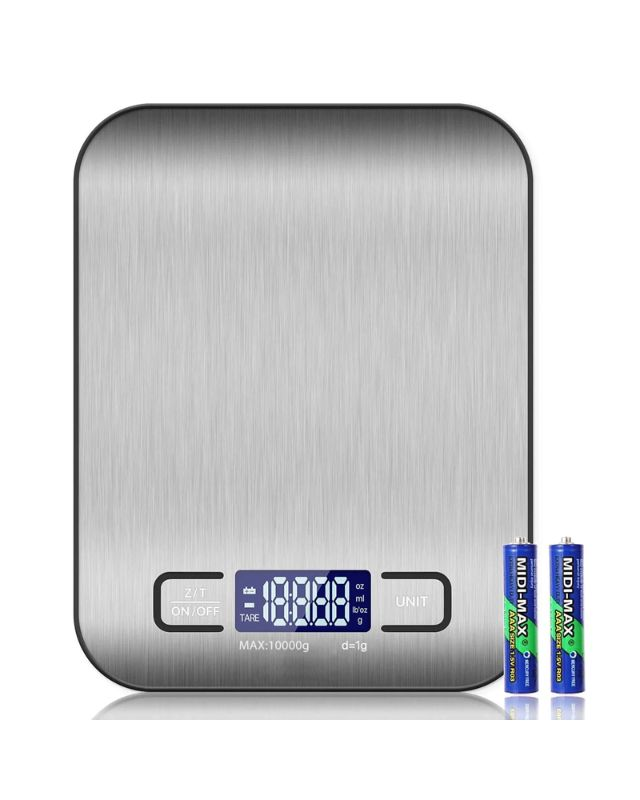
- Kitchen scale (for accuracy)
- Essential Oils
- Oven mitts (you’ll be working with hot wax!)
- Labels (optional)
Shop the Post

Ingredients for Homemade Soy Candles
- 2 lbs Soy Wax pellets
- 100–200 drops of Essential Oils (optional, see scent ideas below)
Candle Scent Tip
For a stronger fragrance, you can use natural fragrance oils specifically designed for candles instead of (or in addition to) essential oils.
How to Make Homemade Soy Candles
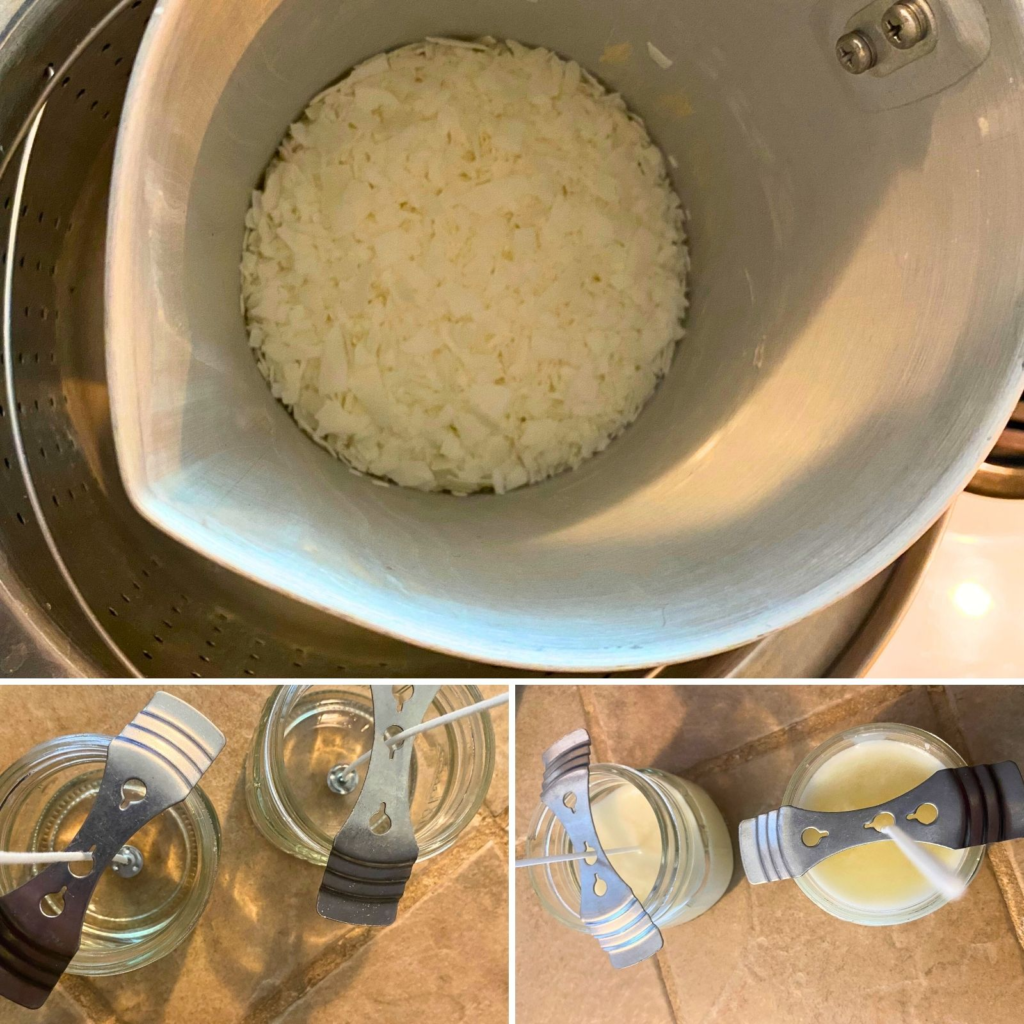
1. Prep your jars and wicks
Use a hot glue gun or a wick sticker to attach the wick to the center bottom of each jar. Place wick holders (or clothespins) across the top to keep wicks upright and centered.
2. Measure your wax
Using your kitchen scale, measure 2 lbs of soy wax pellets. This should fill about seven 4 oz jars—but the exact number depends on your jar size.
3. Melt the wax
Pour the wax pellets into a pouring pot or heat-safe container. Set it inside a large pot with 1–2 inches of simmering water.
Don’t place the container with the wax directly on the stove-top, or it can scorch. Stir gently and let the wax melt completely.
4. Check the temperature
Using a thermometer, heat the wax until it reaches 180°F (82°C). Once there, remove it from the heat. Let the wax cool slightly until it drops to around 130°F (54°C) before adding your essential oils.
5. Add essential oils (optional)
Add 100 drops of essential oils per 1 pound of wax, or more, depending on the scent strength. Stir to combine.
6. Pour the wax
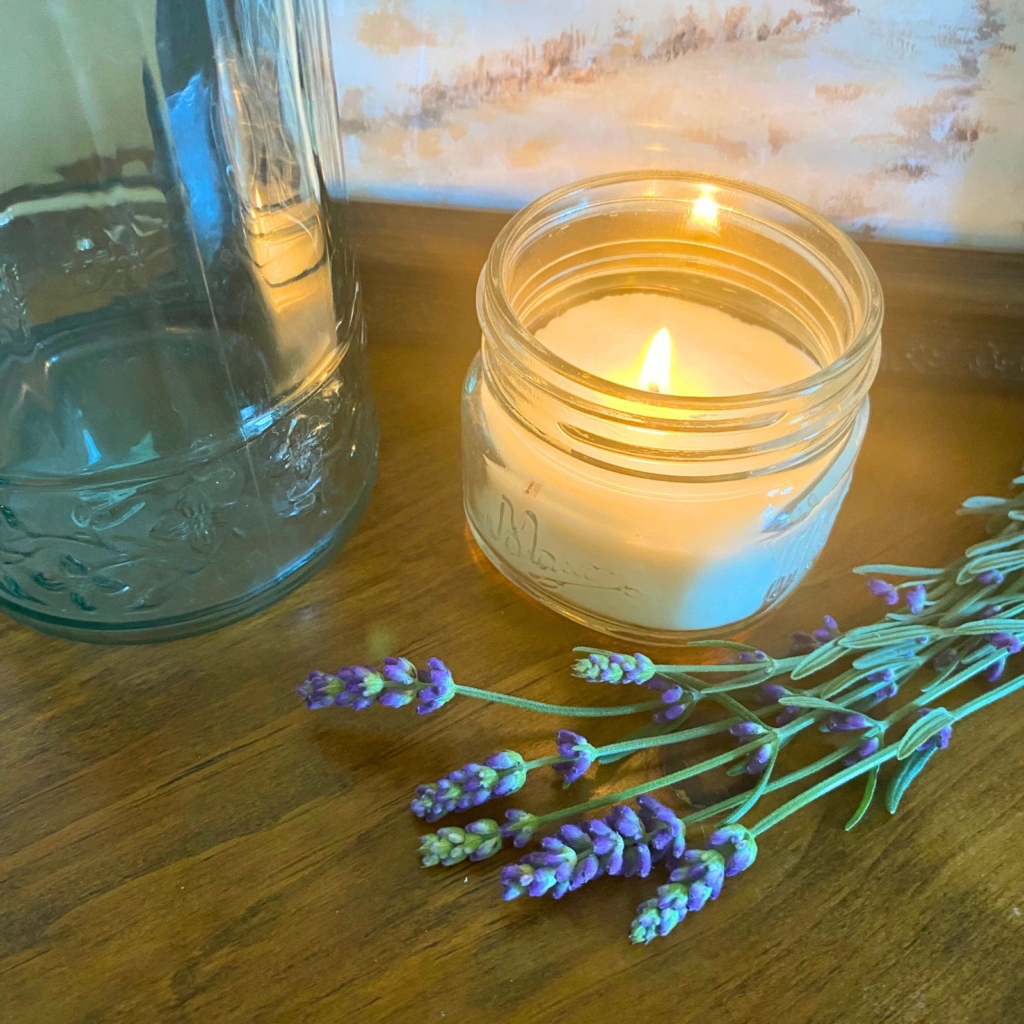
Carefully pour the scented wax into your prepared jars, leaving about 1 inch of space at the top.
Tip: Double the recipe to make a batch for holiday gifts, emergency candles, or a cozy seasonal collection for your home.
7. Let the candles set
Allow the candles to cool and harden completely—this may take several hours. Don’t move them during this time to avoid cracking or uneven tops.
8. Trim and label
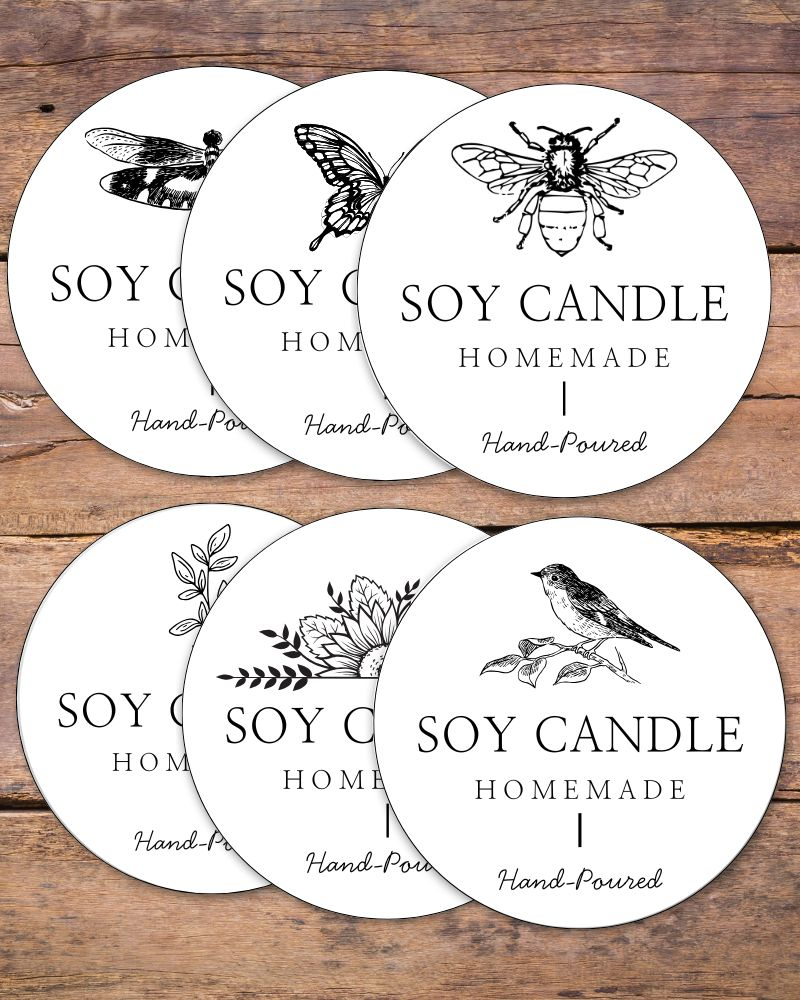
Once fully set, trim the wick to about ¼ or ½ inch. Add labels if desired, and your candles are ready to burn or gift!
Free Candle Labels
Enter your email below to get access to the Freebie Library. Download labels, planners, and more!
Favorite Scents for Homemade Soy Candles
Candle Use & Care Tips
Candle-Making Safety
Always practice safety when making and using homemade candles:
- Work in a well-ventilated area
- Never leave melting wax unattended
- Use only heat-safe containers
- Keep hot wax away from children and pets
- Don’t add fragrance at high temperatures
Making candles is fun and rewarding, but it does involve high temperatures and flammable materials. Use common sense, and when in doubt—look it up!
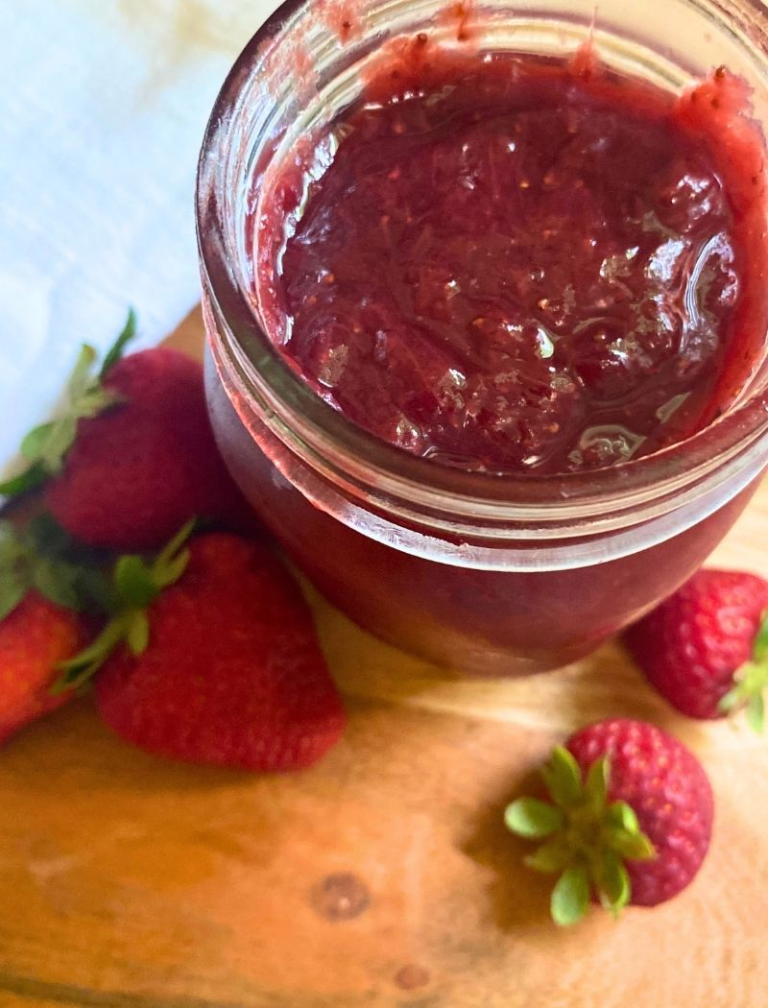
More DIY Posts to Explore
Homemade Soy Candles Made Simple
Once you get the hang of it, making soy candles becomes second nature. Whether you’re looking to cut out toxins, save money, or create heartfelt gifts, these homemade soy candles check every box.
I hope this tutorial helps you create something cozy, safe, and beautifully scented for your home. Light one, sit back, and enjoy the glow.

Homemade Soy Candles Recipe
Equipment
- Soy Wax pellets
- Wicks (cotton or wood)
- Wick Stickers (or glue down with a hot glue gun)
- Wick Holders (or clothespins)
- Pouring Pot (or heat-safe container)
- Large Pot
- Mason Jars (or cleaned recycled candle jars)
- Kitchen Thermometer
- Kitchen Scale (optional but helpful)
- Large Wood Spoon
- Oven Mitts
- Labels (optional)
Ingredients
- 2 lbs Soy Wax Pellets
- 100-200 drops Essential Oils (optional: or natural candle fragrance oils)
Instructions
- Prep jars: Glue or stick the wick to the bottom center of each jar. Use wick holders to keep them upright.
- Measure wax: Using a kitchen scale, weigh out 2 lbs of soy wax pellets.
- Melt wax: Add the wax to the pouring pot and place it in a large pot with 1–2 inches of water. Heat on medium, stirring gently.
- Monitor temperature: Heat until wax reaches 180°F (82°C). Then remove from heat.
- Cool slightly: Let wax cool to around 130°F (54°C) before adding scent.
- Add essential oils: Stir in 100–200 drops of your favorite essential oils.
- Pour wax: Carefully pour wax into jars, leaving about 1 inch of space at the top.
- Let set: Allow candles to cool and harden for several hours or overnight.
- Trim wicks: Cut wicks down to ¼ or ½ inch before lighting.
- Label & enjoy (optional): Add labels or gift tags, then light and enjoy your homemade candles!
Notes
Favorite Essential Oil Candle Blends
- Lavender + Vanilla – calming & floral
- Lemon + Peppermint – fresh and energizing
- Lemongrass + Eucalyptus – clean and spa-like
- Citronella – natural bug repellent for outdoor candles
- Grapefruit + Rosemary – bright and herbal
- Fall/Winter blends – cinnamon, clove, orange, fir, pine, nutmeg
- Coffee Beans – drop a few into the wax right after pouring for a fun twist!
Candle Use & Care Tips
- Trim wick to ¼–½ inch before lighting.
- Let it burn for at least 1 hour the first time to prevent tunneling.
- Don’t burn for more than 3–4 hours at a time.
- Store away from heat and sunlight to preserve scent.
Did you make these DIY soy candles?
If you made this DIY, be sure to rate it and leave a comment below! Craving more? Follow along with me on Pinterest for more handmade home inspiration!
Pin for Later


Join the List