How to Dry Herbs with a Dehydrator (Step-by-Step Guide)
This post may contain affiliate links, please read our disclosure policy for details.
There’s nothing better than stepping outside, snipping fresh herbs, and bringing them straight to your kitchen. But as the seasons change, those garden-fresh flavors won’t last unless you preserve them. Drying herbs with a dehydrator is one of the easiest, most reliable ways to keep those vibrant tastes around for soups, teas, roasted veggies, and even homemade remedies.
In this post, I’ll teach you how to harvest, clean, dehydrate, and store popular herbs like basil, thyme, rosemary, mint, and oregano. By the end, you’ll have a pantry stocked with home-dried herbs ready to add to any meal.
Why You’ll Love Drying Herbs
Did you know?
People have been drying herbs for thousands of years to preserve them for food and medicinal purposes.
Tools You’ll Need
Drying herbs doesn’t take much—just a few basic tools:
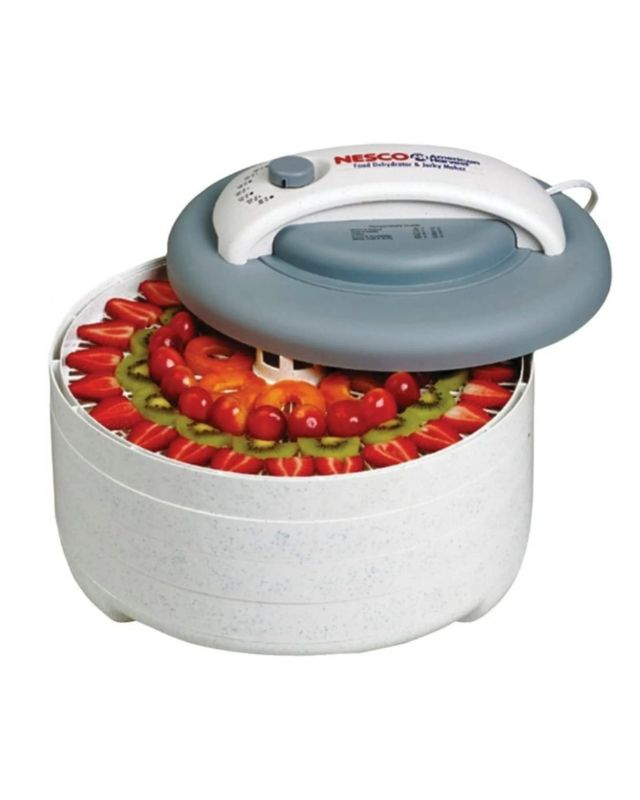
- Dehydrator
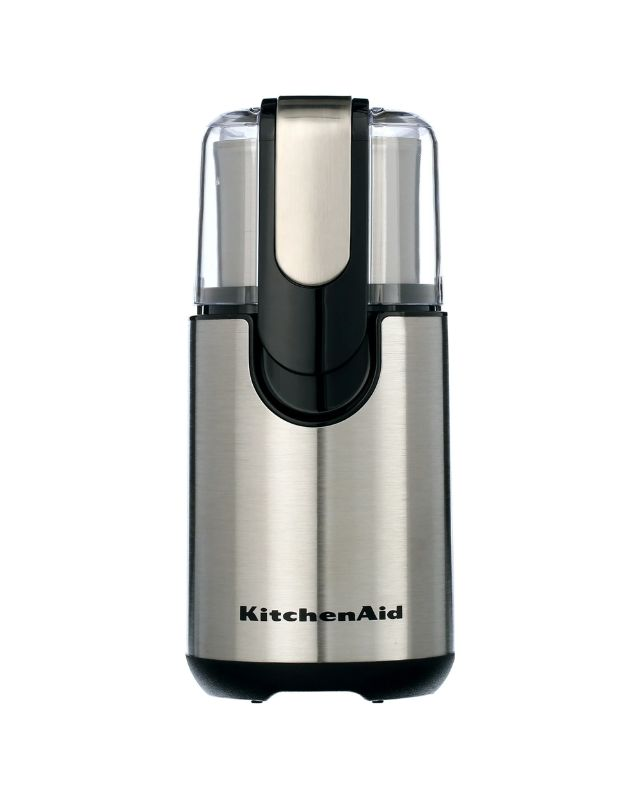
- Spice grinder or blender
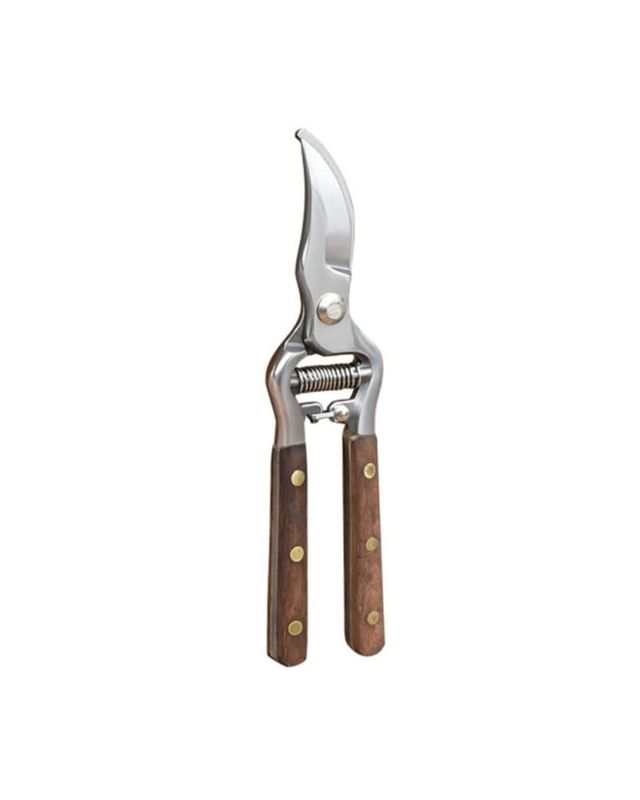
- Scissors or garden shears
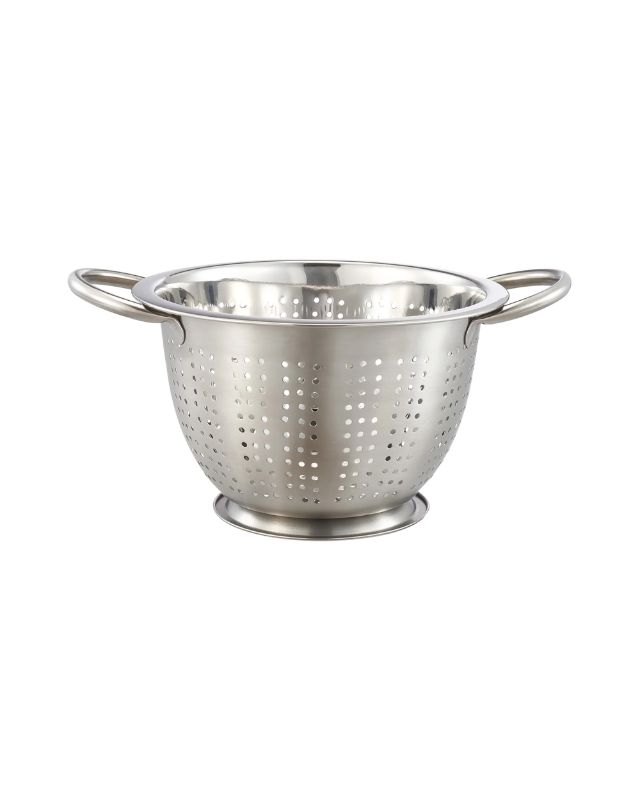
- Colander or salad spinner
- Clean towel or paper towels
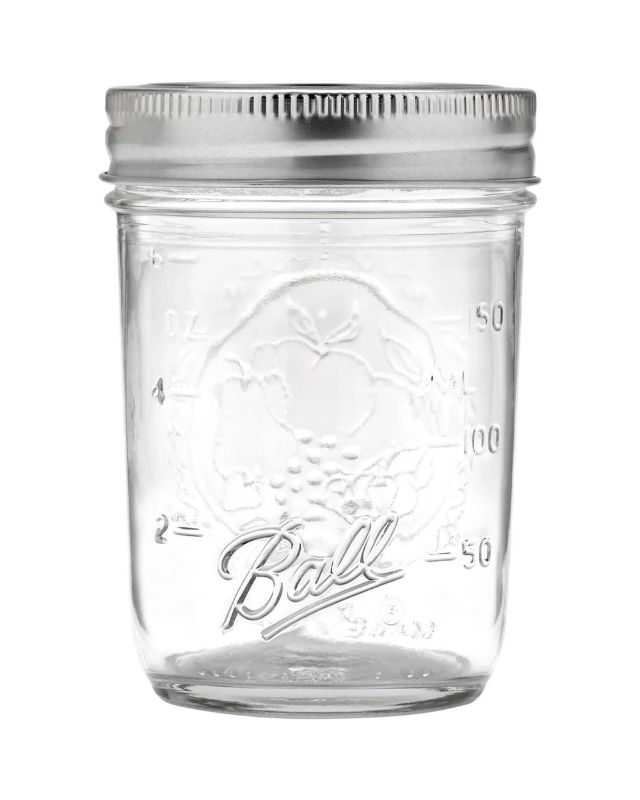
- Mason jars or containers
- Labels and marker
Shop the Post

How to Dry Herbs with a Dehydrator
Step 1: Harvest Your Herbs
Timing makes all the difference. Pick herbs in the morning once the dew has dried but before the sun gets too strong. This is when essential oils are at their peak, giving you the best flavor.
- Leafy herbs: Basil, cilantro, parsley, mint, lemon balm, dill – Snip stems just above a leaf node.
- Woody herbs: Rosemary, thyme, oregano, sage, lavender – Cut larger stems, leaving some growth for the plant.
- Flowers: Chamomile and lavender should be harvested when blooms are fully open.
Step 2: Clean & Prep
After harvesting, rinse your herbs gently under cool water. Shake off the extra moisture and pat dry with a clean towel or spin in a salad spinner. Make sure delicate herbs like basil or mint are completely dry before dehydrating—this helps prevent mold.
Next, check for damaged leaves and remove them. For small herbs like rosemary, thyme, or oregano, you can leave stems on. For larger leaves like basil, strip them from thick stems for faster drying.
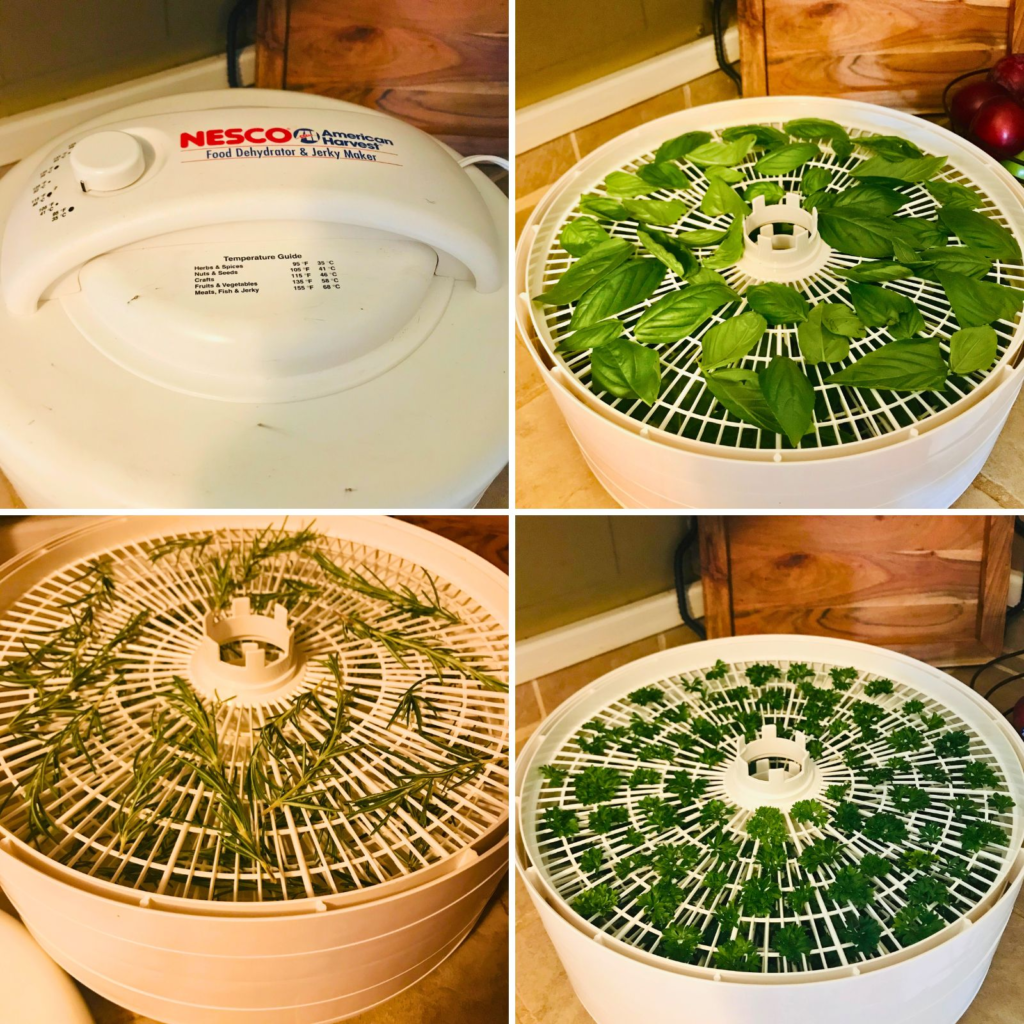
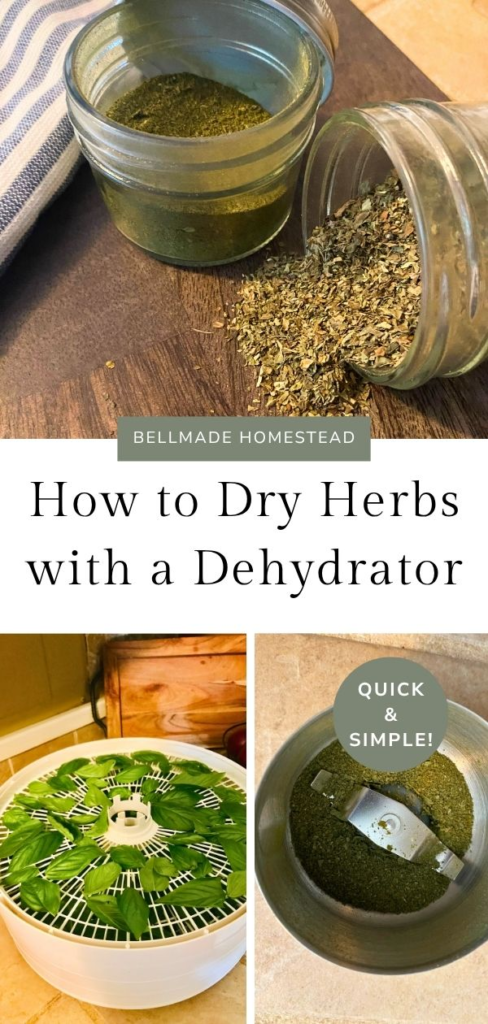
Step 3: Arrange in the Dehydrator
Spread herbs in a single layer on the trays. Don’t pile them up—airflow is important for even drying. If you’re drying different types of herbs at the same time, group herbs with similar drying times together.
Step 4: Temperature & Drying Time
Set your dehydrator to 95°F (35°C). This gentle temperature protects flavor and essential oils.
Drying times vary based on the herb and your home’s humidity:
- Delicate herbs (basil, parsley, cilantro, mint): 8–12 hours
- Woody herbs (rosemary, thyme, sage, oregano): 12–24 hours
- Flowers (chamomile, lavender): 8–12 hours
Check herbs periodically. They’re done when they feel crisp and crumble easily. Rotate trays or gently stir herbs halfway through for even drying.
Step 5: Store & Label
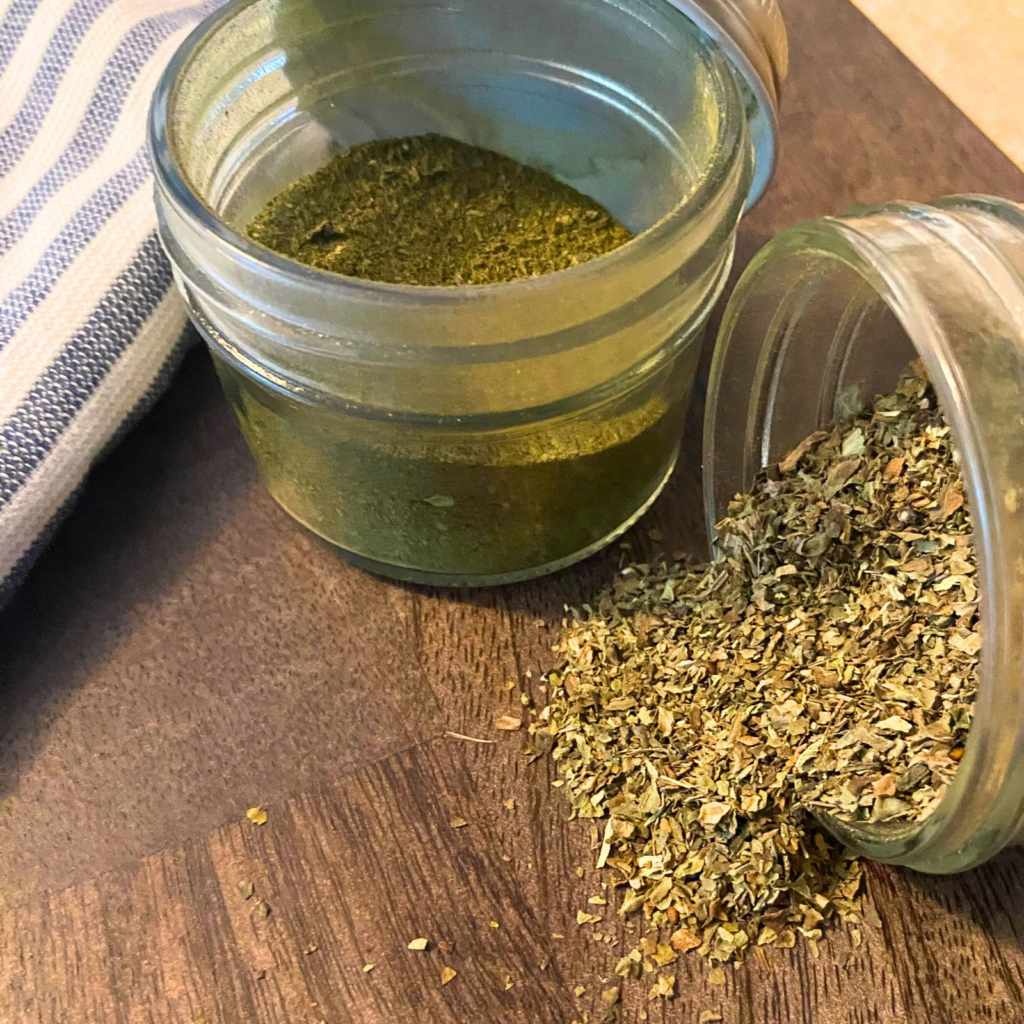
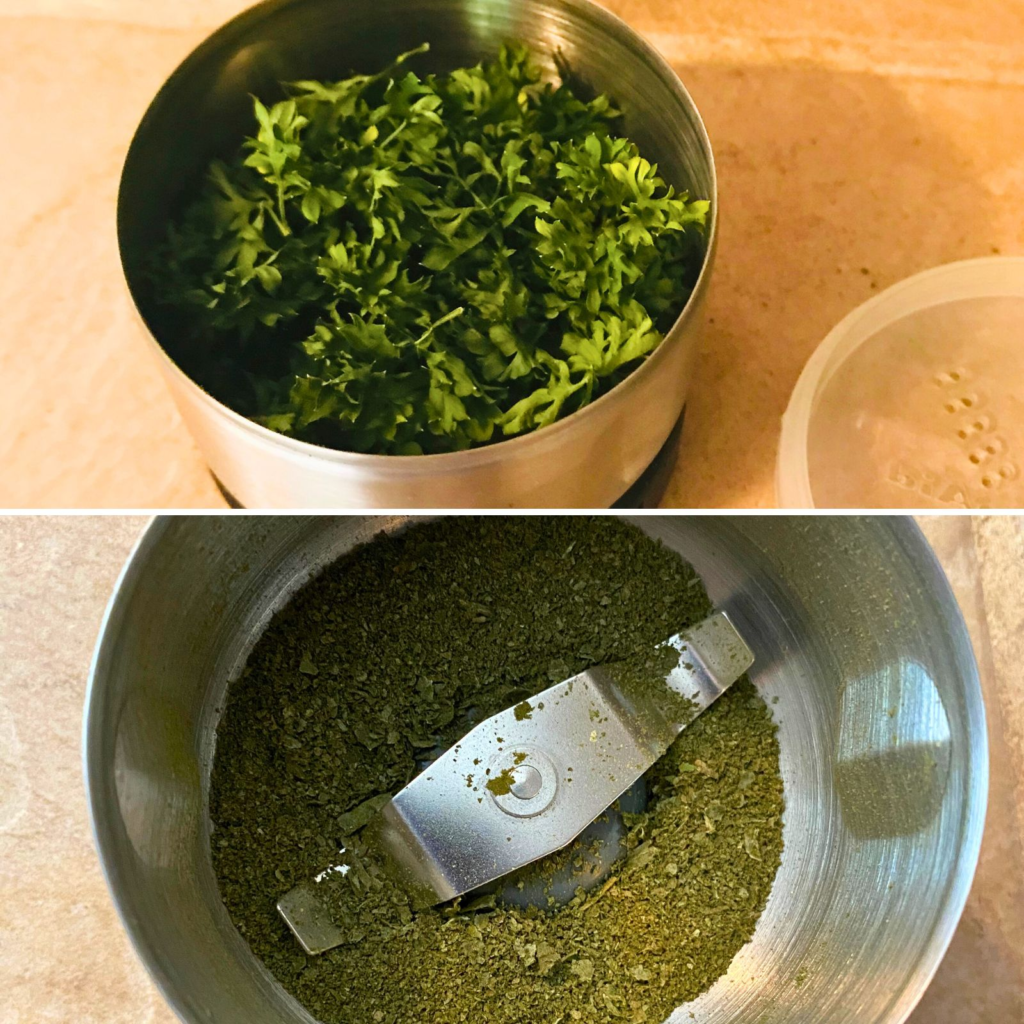
Once herbs are fully dried, remove any stems if you prefer. Crumble in your hands or blend in a spice grinder (or blender). Store them in mason jars or containers, label each with the herb name and date, and keep them in a cool, dark place like a cupboard.
Properly stored, dried herbs can last 6 months to a year, though their flavor is best in the first 6 months.
How to Use Your Dried Herbs
- Basil, oregano, thyme, rosemary: Perfect for Italian dishes, soups, sauces, and roasted vegetables.
- Parsley, cilantro: Add to seasoning blends or sprinkle on cooked dishes.
- Mint, peppermint, lemon balm: Brew into soothing teas, stir into desserts, or add to infused water.
- Chamomile, lavender: Relaxing herbal teas, baking, or natural remedies.
- Dill: Excellent for pickles, fish, potatoes, or creamy dressings.

Free Printables
Homestead Freebie Library
FAQ: Drying Herbs in a Dehydrator
Can I dry different herbs at once?
Yes! Just keep herbs with similar drying times together.
Do I have to remove stems?
Not always. Woody stems like rosemary or thyme can stay. Basil or parsley leaves dry better without thick stems.
How do I know they’re done?
Dried herbs should crumble easily between your fingers. If they bend or feel soft, they need more time.
Can I dry herbs without a dehydrator?
Yes, air drying works, but it’s slower and less consistent. A dehydrator gives quicker, more reliable results.
Bringing the Garden Into Your Kitchen Year-Round
Drying herbs with a dehydrator is one of the simplest methods for preserving your harvest. With just a few tools, some patience, and a little know-how, you can keep your garden’s flavor alive through every season. Once you start, you’ll love the satisfaction of opening a jar of homemade herbs in the middle of winter—it’s like a little taste of summer right in your kitchen.
So, grab those shears, fire up the dehydrator, and let’s get drying. Your pantry (and your taste buds) will thank you!

How to Dry Herbs with a Dehydrator
Equipment
- Dehydrator
- Spice Grinder or blender
- Scissors or garden shears
- Colander or Salad Spinner
- Clean kitchen towl or paper towels
- Mason Jars or containers
- Labels and marker
Ingredients
- Fresh Herbs (basil, thyme, parsley, oregano, rosemary, cilantro, sage, lavender, mint, peppermint, chamomile, lemon balm, or dill)
Instructions
- Harvest: Pick herbs mid-morning after dew has dried but before the sun is strong. Choose healthy, vibrant leaves free of damage.
- Clean: Rinse gently in cool water to remove dirt and bugs. Pat dry thoroughly—excess moisture can cause mold.
- Prep: Remove thick stems if needed and arrange leaves in a single layer on dehydrator trays. Don’t overcrowd.
- Set Temperature: Dehydrate at 95°F to preserve oils, flavor, and color.
- Dry Time: Herbs can take 8–24 hours depending on moisture level and herb type. They’re done when leaves crumble easily.
- Cool: Let herbs cool completely before storing to prevent condensation.
- Store: Remove leaves from stems and place in airtight jars. Crumble them in your hands or blend with a spice grinder (or blender). Label with the herb name and date. Store in a cool, dark place.
Notes
Did you make this recipe?
If you tried this recipe, be sure to rate it and leave a comment below! Craving more? Follow along with me on Pinterest for more recipe ideas!
Pin for Later


Join the List