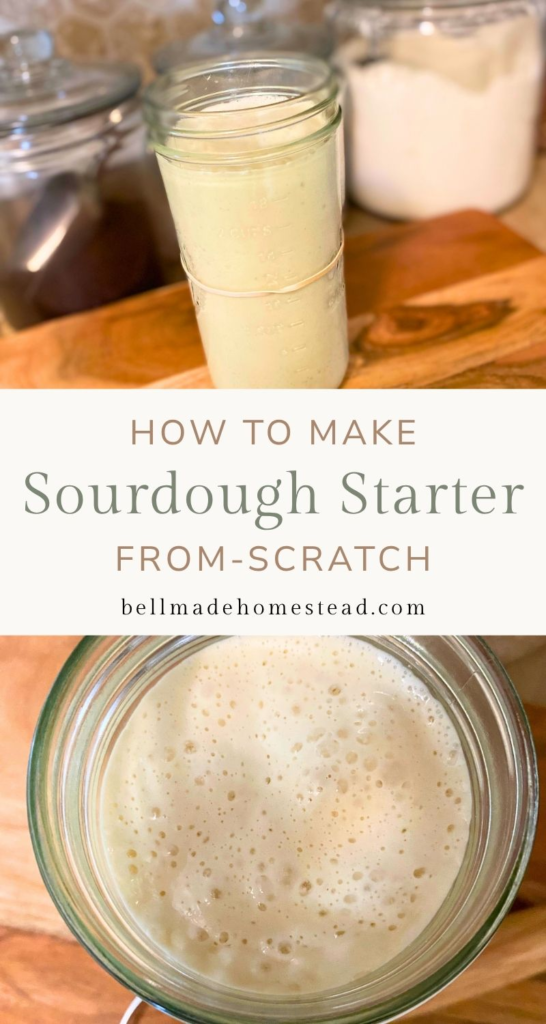
How to Make Sourdough Starter From Scratch
This post may contain affiliate links, please read our disclosure policy for details.
If you’ve ever wanted to learn how to make sourdough starter from scratch, this beginner-friendly guide will show you exactly how to do it in just 7 days—using only flour, water, and a little time.
Whether you’re brand new to baking or looking to switch to wild fermentation, this step-by-step tutorial will help you grow a strong, bubbly sourdough starter at home. There’s nothing quite like transforming simple ingredients into a living culture that gives homemade sourdough bread its rich flavor, chewy texture, and rustic charm.
What is a Sourdough Starter?
A sourdough starter is a naturally fermented mixture of flour and water that captures wild yeast and friendly bacteria from the environment. Unlike store-bought yeast, this process doesn’t come from a packet—it’s a slow and wild fermentation that gives sourdough bread its tangy flavor and chewy crumb.
Once your starter is established, you can use it to make homemade pancakes, pizza dough, pie crust, sandwich loaves, biscuits, tortillas, muffins, cookies, and so much more!
Did you know?
Some sourdough starters have been kept alive and passed down for generations—some for over 100 years! Imagine baking with something your great-grandmother could’ve started in her farmhouse kitchen.
What You’ll Need to Get Started
- 1/2 cup (63g) Unbleached All-Purpose Flour (or bread flour, whole wheat, rye, einkorn, etc.)
- 1/2 cup (119g) Filtered or Distilled Water (avoid chlorinated tap water, which can hinder fermentation)

Bob’s Red Mill
Unbleached White All-Purpose Flour
One of my favorite brands for flour and other pantry staples. I also love the all-purpose flour from Azure Standard.
Helpful Tools for Making a Sourdough Starter
Shop the Post


The Best Flours for Sourdough Starter
You can use many types of flours to make a sourdough starter from scratch, but some work better than others.
- Whole wheat and rye flours are packed with nutrients and natural microbes that jumpstart fermentation.
- Unbleached all-purpose flour is a great everyday option, especially for those with gentler digestive needs.
- Ancient grains like einkorn add depth of flavor and is easier on the digestive system compared to modern wheat.
Choose what flour works best for you, and don’t be afraid to experiment—you can always adjust later as your starter matures.

Day-by-Day Guide to Making a Sourdough Starter From Scratch
Making a starter is a rhythm, like baking and cooking from scratch. Once you get into the flow, it becomes second nature.
Day 1: The Beginning
- In a clean jar, stir together 1/2 cup flour and 1/2 cup lukewarm filtered or distilled water (I use filtered well water).
- Mix until it forms a thick pancake-like batter.
- Cover loosely and let it rest at room temperature for 24 hours.
Day 2: First Signs of Life
- Discard half of the starter. (you can use the discarded starter to make other baked goods, so there is not too much waste)
- Add 1/2 cup fresh flour + 1/2 cup water. Stir well.
- Cover and let sit another 24 hours.

Free Printables
Homestead Freebie Library
Days 3–5: Fermentation
- Repeat the feeding routine: discard half, add fresh flour and water.
- You’ll notice bubbles forming, and it might smell sweetly sour.
- By day 5, it should be noticeably more active and puffing up after feedings.
Days 6–7: Twice-a-Day Feeding
- Switch to feeding every 12 hours (morning and evening).
- Keep the same method: discard half, then feed equal parts flour and water.
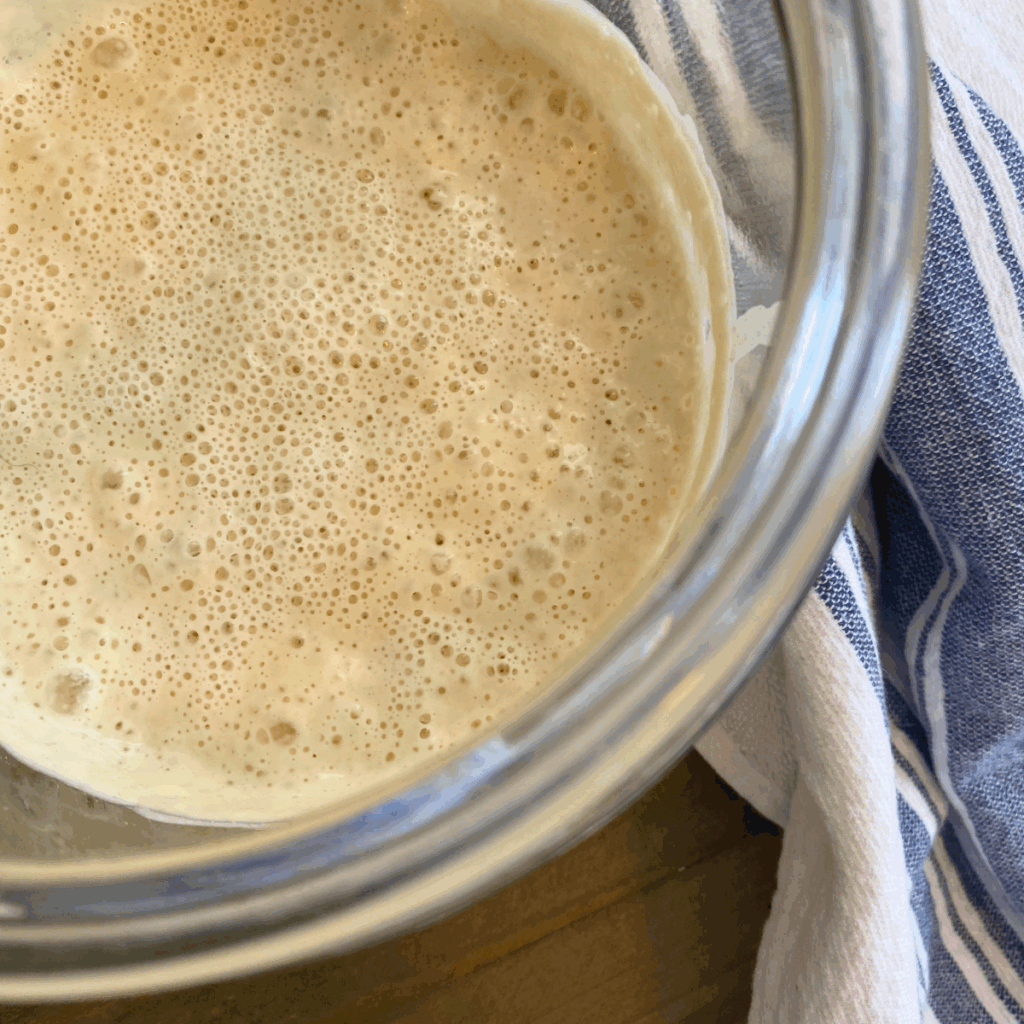
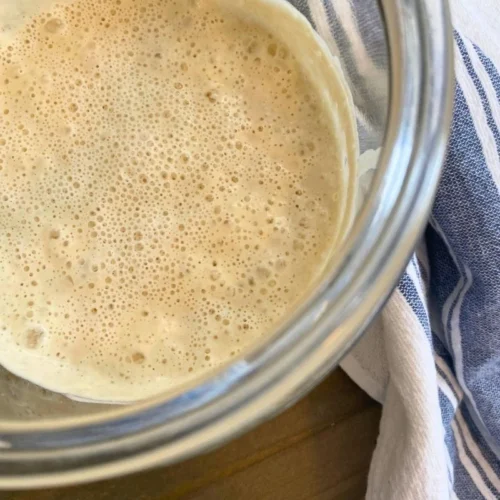
- Your starter should now be doubling in size within 4–6 hours, bubbly on top, and smell pleasantly tangy.
By Day 7, Your Starter Should Be:
- Bubbly and active.
- Doubling in size after each feeding.
- Smelling slightly sweet, slightly sour.
- Ready to use in your first homemade recipe like pancakes!
Once your starter is strong and active, you can keep it going for years (even generations!) with just a little upkeep.
How to Care for Your Sourdough Starter
Bringing Back Old Traditions
Starting your own sourdough starter is more than just a recipe—it’s a return to old ways. It’s slowing down, baking from scratch, and nourishing your family with real food. Whether you’re a beginner or seasoned baker, this guide to making sourdough starter from scratch will get you started on the right foot.
So, roll up your sleeves, mix some flour and water, and begin your own sourdough journey—one bubbly jar at a time.
Sourdough Starter From Scratch Recipe
Equipment
- Large Glass jar or bowl (wide mouth works best for jars)
- Wooden or Silicone Spoon
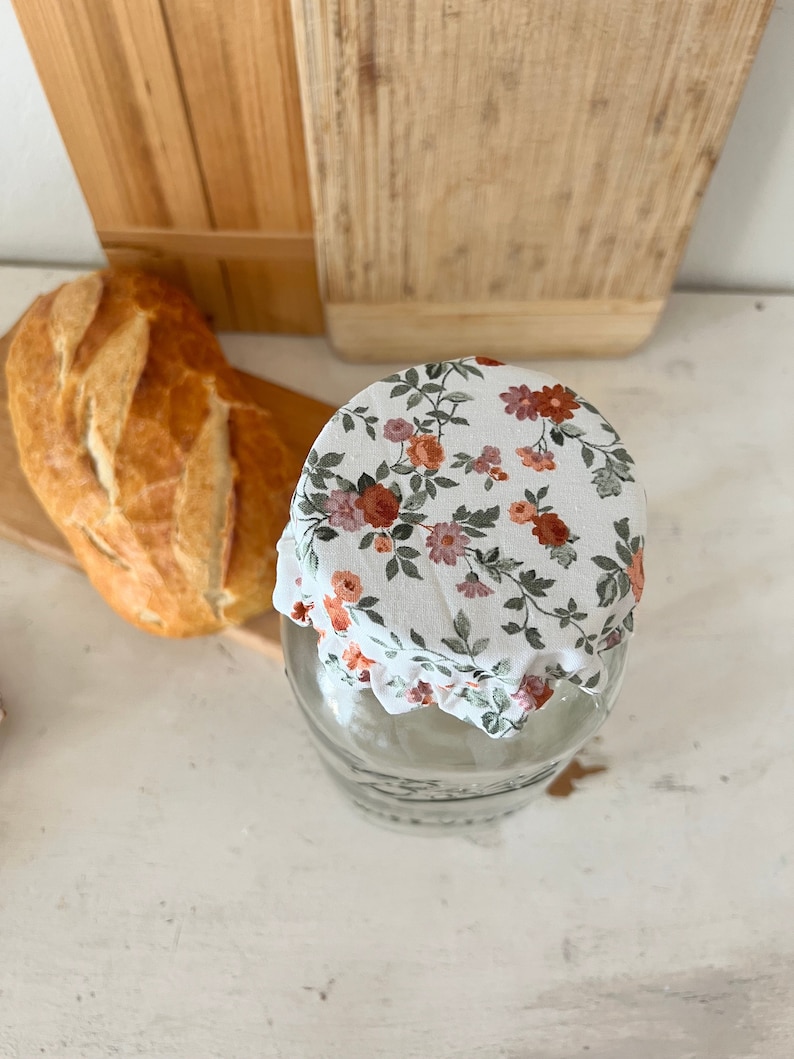
- Breathable Jar Cover (or a coffee filter, paper towel, or cloth secured with a rubber band)
Ingredients
- ½ cup Unbleached All-Purpose Flour or whole wheat, rye, etc.
- ½ cup Filtered or Distilled Water warm
Instructions
- Day 1: Mix flour and water in a glass jar. Stir well, cover with a breathable cloth (secured with a rubber band), and let sit at room temp for 24 hours.
- Days 2–5: Each day, discard half the mixture (can use the discarded starter to make other baked goods, so there is not too much waste). Feed with ½ cup flour and ½ cup water. Stir, cover, and let sit for 24 hours.
- Days 6–7: Repeat the feeding process every 12 hours on days 6 and 7. Your starter should become bubbly and double in size by day 7.
- Use & Store: Once your starter is active, use it in no rise recipes right away. For bread, wait a few weeks for best results. Feed it 4–6 hours before baking, or store it in the fridge and feed weekly to keep it healthy.
Notes
For baked goods that don’t need much rise—like pancakes or waffles—you can use it even earlier. For bread recipes, it’s best to wait until your starter is a few weeks old for the best results. Be sure to feed it 4 to 6 hours before mixing your dough so it’s nice and bubbly. Feed it everyday if leaving out on the counter for daily baking. If you’re not baking every day, store your starter in the fridge and give it a feeding once a week to keep it healthy and strong.
Did you make this recipe?
If you tried this recipe, be sure to rate it and leave a comment below! Craving more? Follow along with me on Pinterest for more delicious recipes & meal ideas!
Pin for Later


Join the List