Same-Day Sourdough Sandwich Bread
This post may contain affiliate links, please read our disclosure policy for details.
Soft, naturally leavened, and ready in just one day—this homemade same-day sourdough sandwich bread is perfect for everyday farmhouse meals, from toast to turkey sandwiches. No long wait, no fuss. Just wholesome bread from your own kitchen.

Homemade Sourdough, the Simple Way
If you’ve ever made sourdough before, you know the typical process takes a day or two (or more). But when your family is hungry and your schedule is full, that kind of wait just isn’t always realistic.
This same-day sourdough sandwich bread is a game changer. It’s naturally leavened using an active sourdough starter, yet ready from start to finish in less than a day. That means you can start in the morning and have a warm, soft loaf cooling on your counter by suppertime.
Whether you’re serving up thick slices with butter and honey or building tomorrow’s lunchbox sandwiches, this recipe is made for real life on the homestead—quick, nourishing, and reliable.
Free Printables
Homestead Freebie Library
What Is Sourdough Sandwich Bread?
Unlike crusty artisan loaves, sandwich-style sourdough is baked in a bread pan for a soft texture that’s easy to slice and perfect for toast or sandwiches. It uses a sourdough starter, which is just a fermented mixture of flour and water that captures wild yeast and beneficial bacteria from your environment.
That wild yeast is what gives sourdough its slightly tangy flavor—plus, many people find it easier to digest than bread made with commercial yeast.
Want to make your own starter? Check out my step-by-step guide to starting a sourdough starter from scratch in 7 days!
More Recipes From the Homestead Kitchen
Helpful Homestead Kitchen Tools
You don’t need anything fancy to make this loaf—just a few kitchen basics you may already use:
- KitchenAid Stand Mixer (or any stand mixer with a dough hook)
- Measuring Cups and Spoons
- Rolling Pin (optional but handy for shaping)
- Dough Cutter / Bench Scraper (optional)
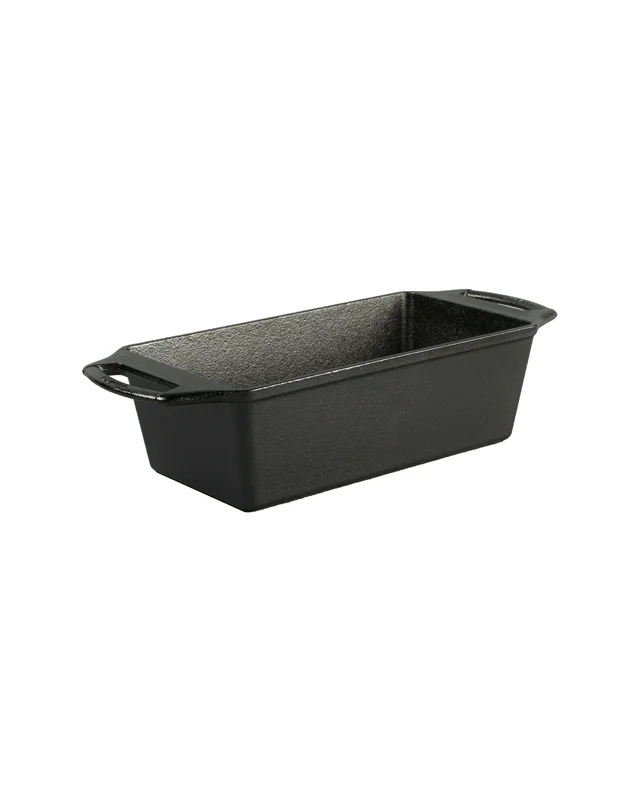
- Bread Loaf Pan (8.5″ x 4.5″ or 9″ x 5″)
- Wire cooling Rack
- Tea towel or BPA-Free Plastic Wrap
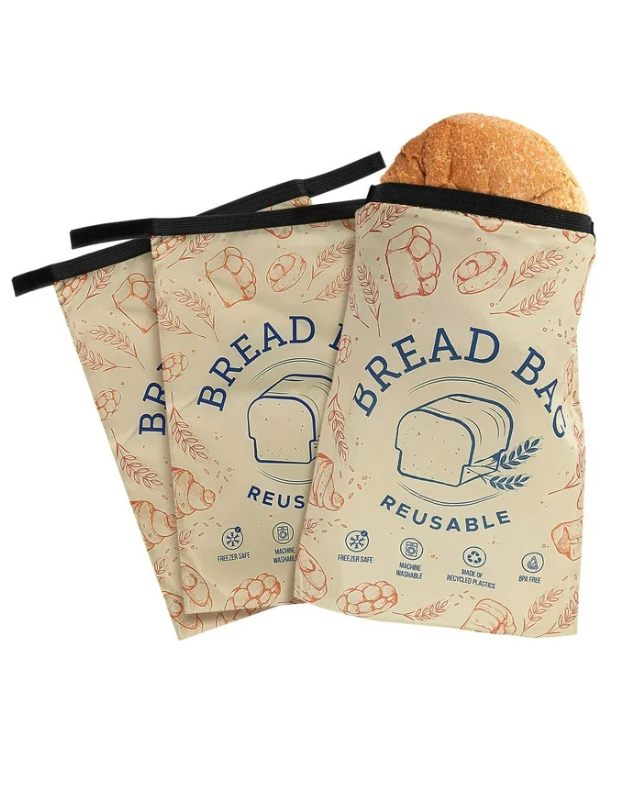
- Bread Bag or Freezer-Safe Container for storage
- Dough Wisk (if no stand mixer or hand mixer)
- Bread Bow Knife (optional)
Shop the Post


How to Make Same-Day Sourdough Sandwich Bread
You’ll only need six simple ingredients for this sandwich loaf—all pantry staples around here. Yields one loaf. Double or triple the batch to freeze for later!
Ingredients
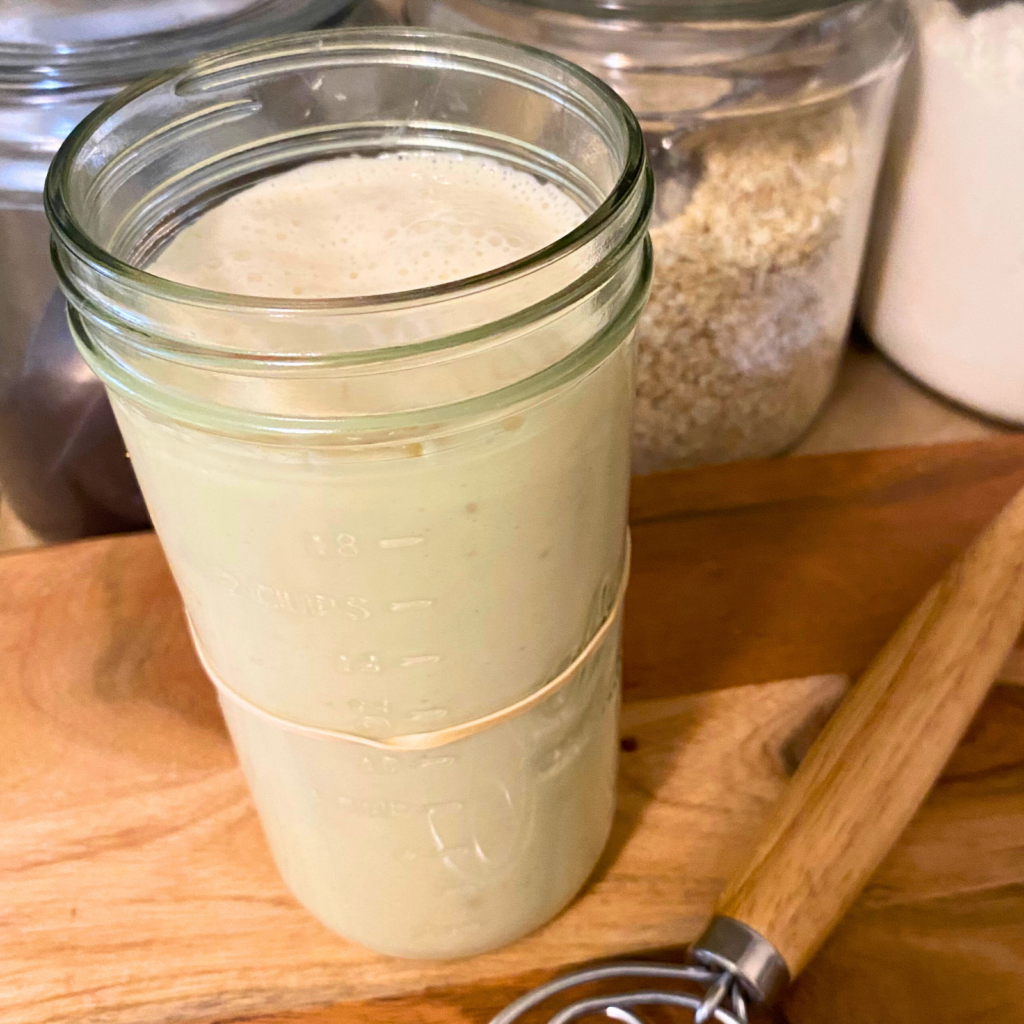
- 2 ¾ cups (330g) Unbleached All-Purpose Flour
- 1 cup (240g) Active Sourdough Starter
- ¾ cup (177g) Distilled or Filtered Water
- 1 tsp Raw Honey (or sugar)
- 1 ½ tbsp Olive Oil (or butter)
- 1 ½ tsp Salt
Bob’s Red Mill
Unbleached White All-Purpose Flour
One of my favorite brands for flour and other pantry staples. I also love the all-purpose flour from Azure Standard.

Instructions
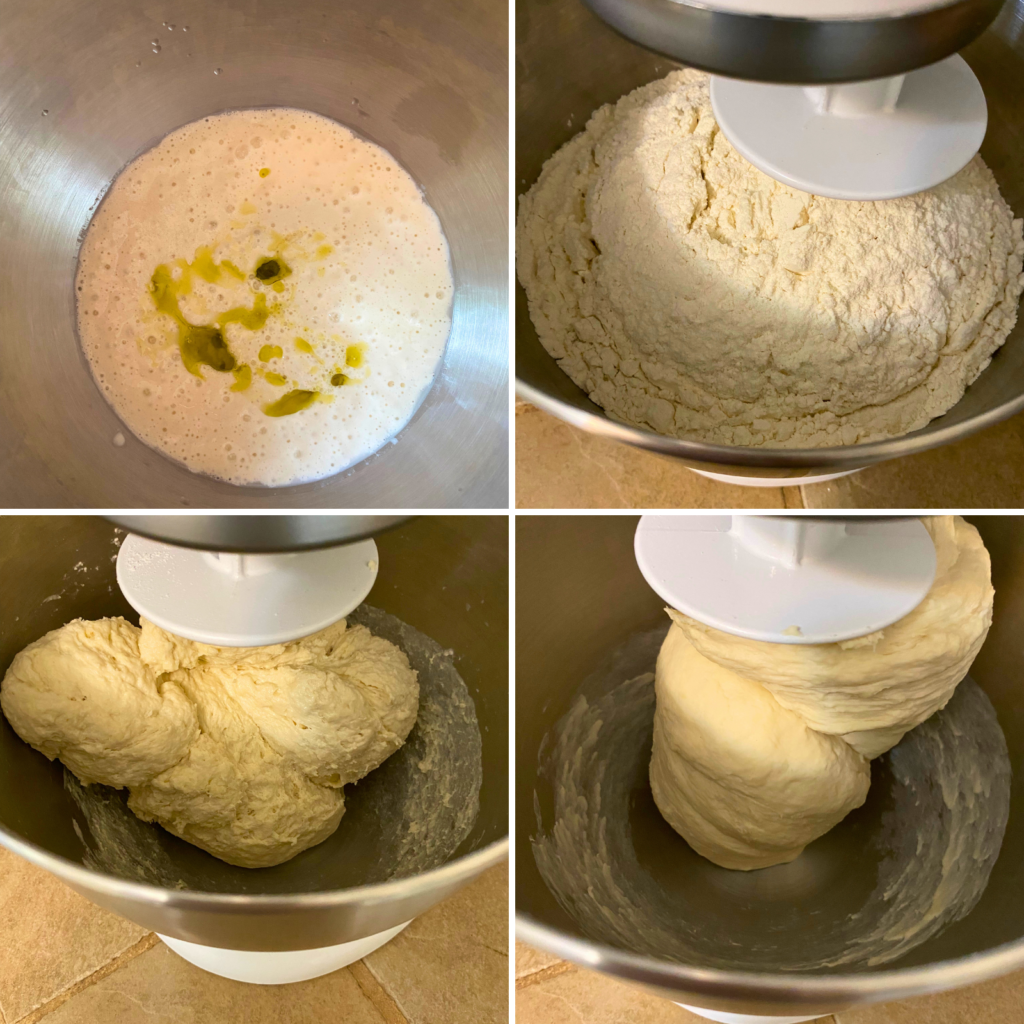
1. Mix the Dough
In the bowl of your stand mixer, combine water, sourdough starter, honey, olive oil, salt, and flour. Use the dough hook on low speed and knead for 5–8 minutes until the dough pulls together and feels elastic.
Tip: Cover the mixer bowl with a tea towel while mixing to keep flour from flying out.
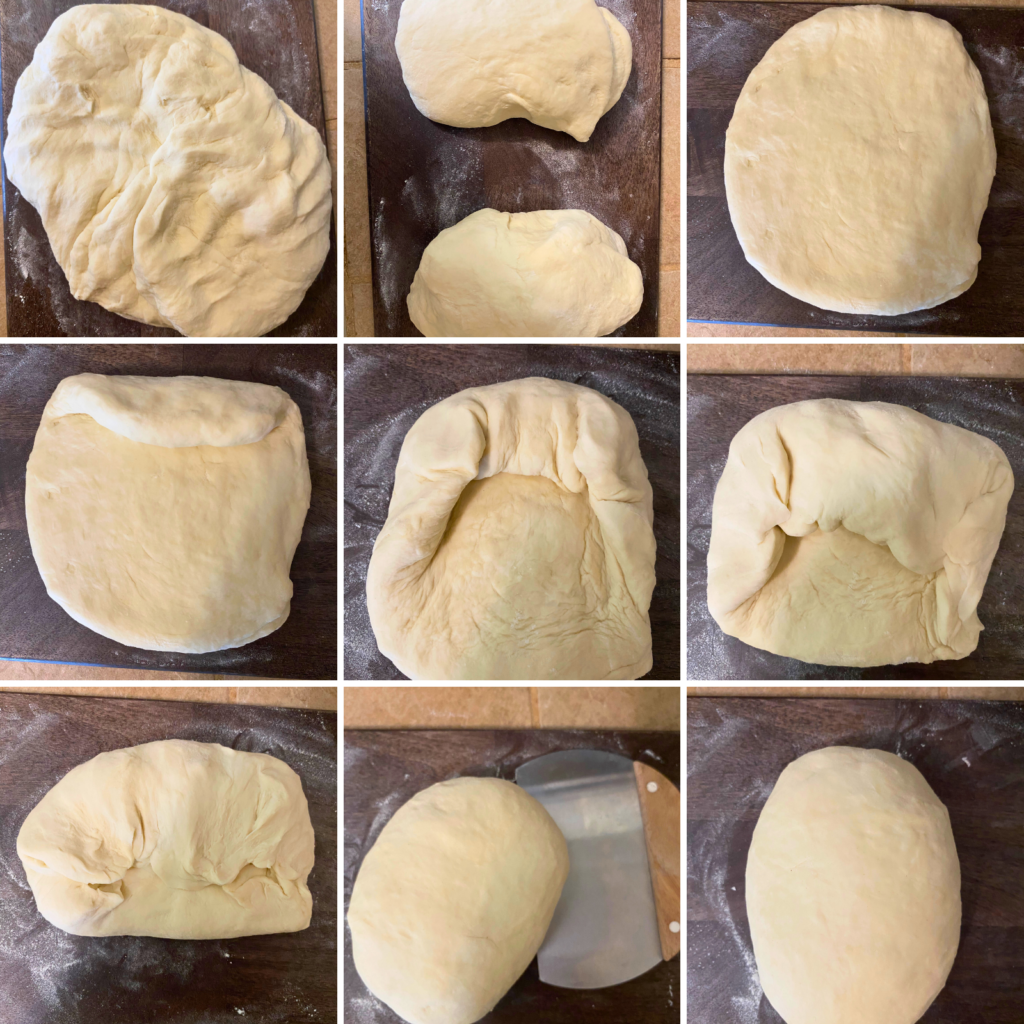
2. Shape the Dough
Turn the dough out onto a lightly floured surface. Pat into a rough square, then fold it like a letter: top down, sides in; repeat, then fold the bottom up. Pinch the seam and flip it over. Gently round into a loaf shape using your hands or a dough/bench scraper.
3. Proof in Loaf Pan
Grease your loaf pan with a bit of olive oil. Place the dough inside seam-side down. Brush the top with a little oil to keep it from sticking to the cover.
Cover loosely with a towel or BPA-free plastic wrap and set in a warm place to rise for 4 to 6 hours, or until the dough is puffy and nearing the top of the pan.
Sourdough Tip
I like to place my loaf pan in the oven with the light on to keep it warm so it’ll rise quicker. Just don’t forget it’s in there—stick a note on the door!
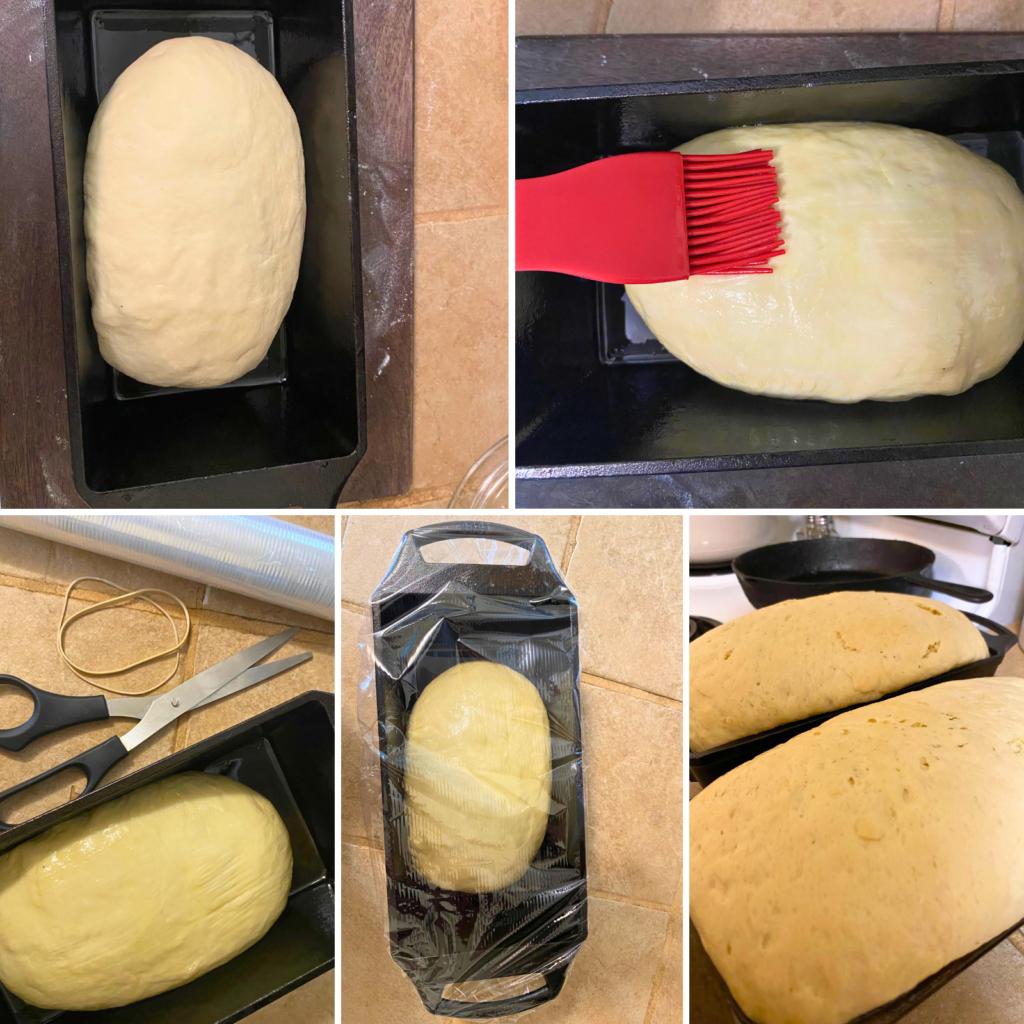
4. Bake
Preheat your oven to 400°F (205°C). Remove the covering and bake the loaf for 28 minutes, or until golden and hollow-sounding when tapped.
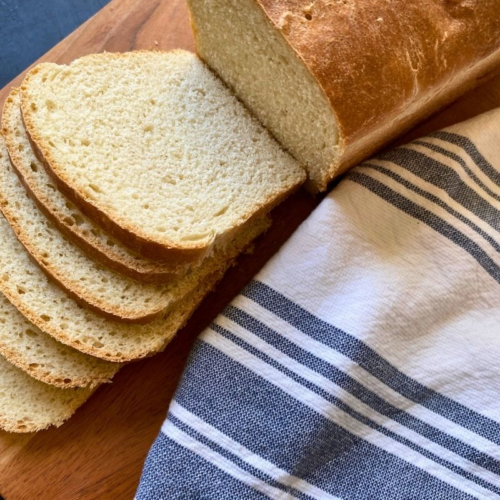
5. Cool and Slice
Let the bread cool in the pan for a few minutes, then remove it and let it cool completely on a wire rack. Slicing too soon may make it gummy—so resist the temptation (if you can)!
Storage & Freezer Tips
Favorite Ways to Serve
A Sourdough Loaf for Real Life
Sourdough doesn’t have to be complicated or drawn out over multiple days. With this same-day sourdough sandwich bread recipe, you can enjoy the magic of fermentation and homemade baking—without rearranging your life to make it happen.
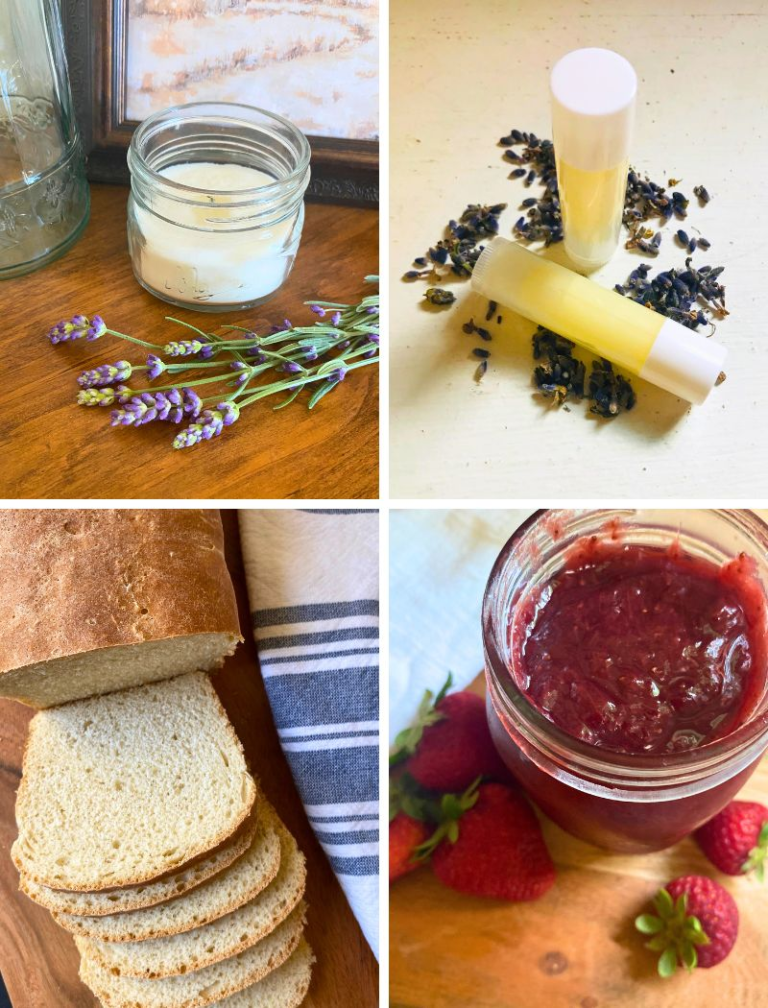
This loaf is reliable, simple, and satisfying. It’s perfect for beginners and seasoned bakers alike. Once you try it, it may just become part of your weekly rhythm—alongside fresh eggs, homemade jam, and a hot cup of herbal tea.
So, dust off that stand mixer, grab your starter, and bake some sourdough bread from scratch.
Same-Day Sourdough Sandwich Bread Recipe
Equipment
- Stand Mixer with Dough Hook (optional – can use dough wisk to mix)
- Measuring cups and spoons
- Rolling Pin (optional)
- Loaf Pan
- Wire Cooling Rack (optional)
- Tea Towel or BPA-Free Plastic Wrap
Ingredients
- 2 ¾ cups (330g) Unbleached All-Purpose Flour
- 1 cup (240g) Active Sourdough Starter
- ¾ cup (177g) Distilled or Filtered Water
- 1 tsp Raw Honey (or sugar)
- 1 ½ tbsp Olive Oil (or butter)
- 1 ½ tsp Salt
Instructions
- In the bowl of your stand mixer, combine water, sourdough starter, honey, olive oil, salt, and flour. Use the dough hook on low speed and knead for 5–8 minutes until the dough pulls together and feels elastic. Tip: Cover the mixer bowl with a tea towel while mixing to keep flour from flying out.
- Turn the dough out onto a lightly floured surface. Pat into a rough square, then fold it like a letter: top down, sides in; repeat, then fold the bottom up. Pinch the seam and flip it over. Gently round into a loaf shape using your hands or a dough/bench scraper.
- Grease your loaf pan with a bit of olive oil. Place the dough inside seam-side down. Brush the top with a little oil to keep it from sticking to the cover.
- Cover loosely with a towel or BPA-free plastic wrap and set in a warm place to rise for 4 to 6 hours, or until the dough is puffy and nearing the top of the pan.
- Preheat your oven to 400°F (205°C). Remove the covering and bake the loaf for 28 minutes, or until golden and hollow-sounding when tapped.
- Let the bread cool in the pan for a few minutes, then remove it and let it cool completely on a wire rack. Slicing too soon may make it gummy—so resist the temptation (if you can)!
Notes
Storage & Freezer Tips
Did you make this recipe?
If you tried this recipe, be sure to rate it and leave a comment below! Craving more? Follow along with me on Pinterest for more delicious recipes & meal inspirations!
Pin for Later


Join the List