Homemade Welcome Porch Sign for Any Season

This post may contain affiliate links, please read our disclosure policy for details.
Decorating your porch doesn’t have to mean buying expensive decorations for every season. A homemade welcome porch sign is a simple way to add charm while creating something beautiful with supplies you may already have around the homestead.
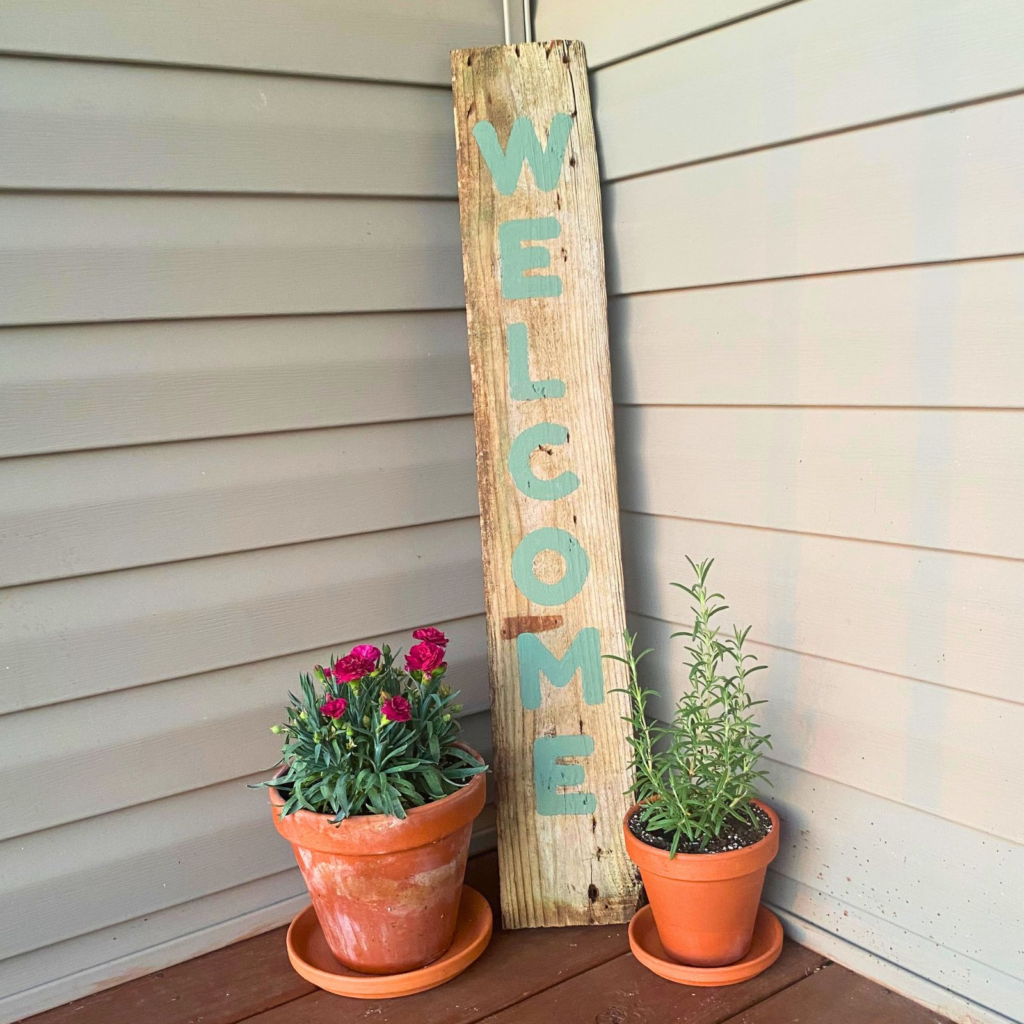
With a scrap wood board, leftover paint, and my free printable letters, you can create a timeless country-style sign that looks right at home on a front porch any time of year.
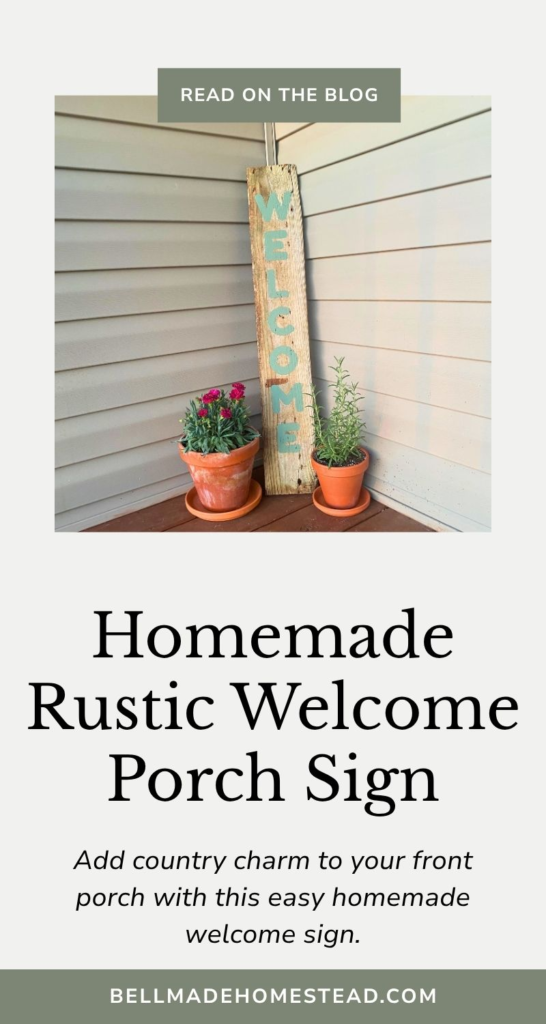
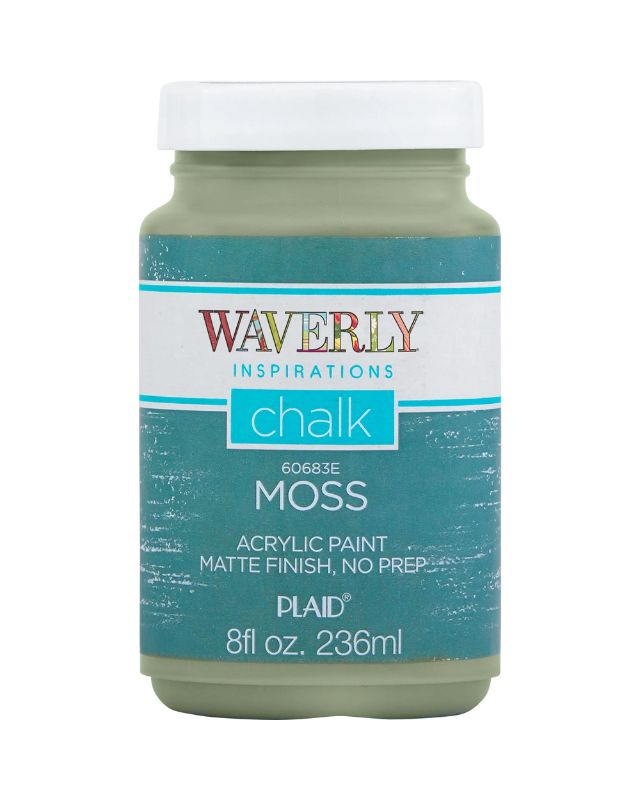
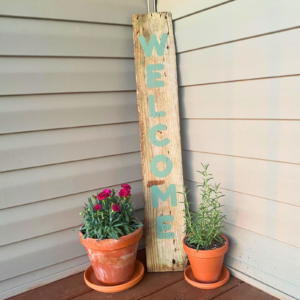
For my sign, I used an old, weathered board and some green chalk paint I had left over from another project. The rustic wood paired with the soft green paint created a simple country look that works for any season.
Best of all, this project can be completed in an hour or two, depending on drying time and whether your sign needs a second coat of paint.
Why You’ll Love This Homemade Porch Sign
Tools & Supplies You’ll Need
- Scrap wood board (or purchase new if you don’t have extras)
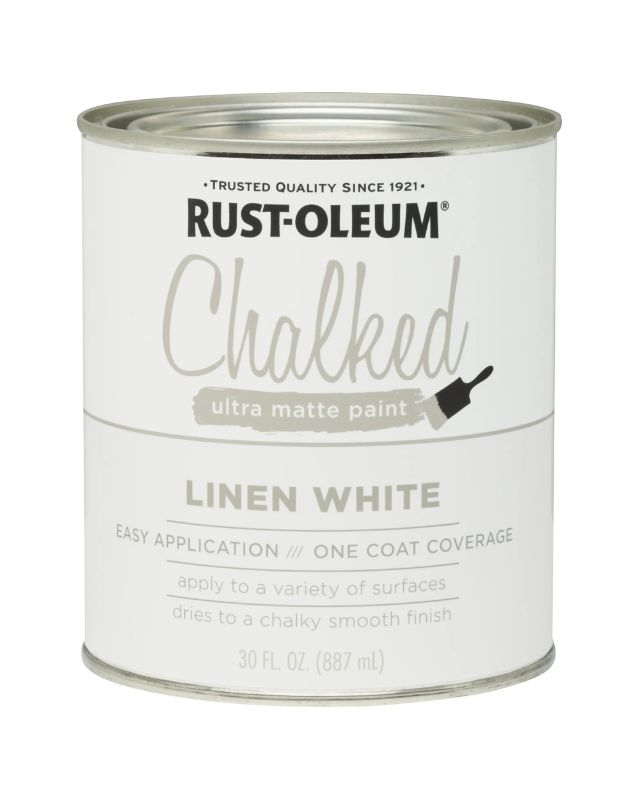
- Paint
- Foam brush or small paintbrush
- Printer
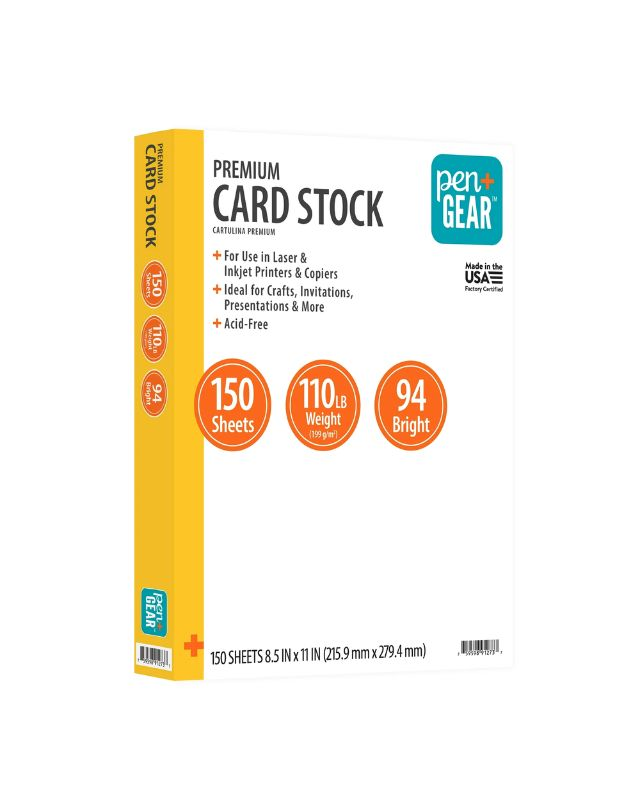
- Cardstock or regular printer paper
- Scissors
- Pencil
- Tape
- Large piece of cardboard or drop cloth
- Clear sealer (optional)
Shop the Post
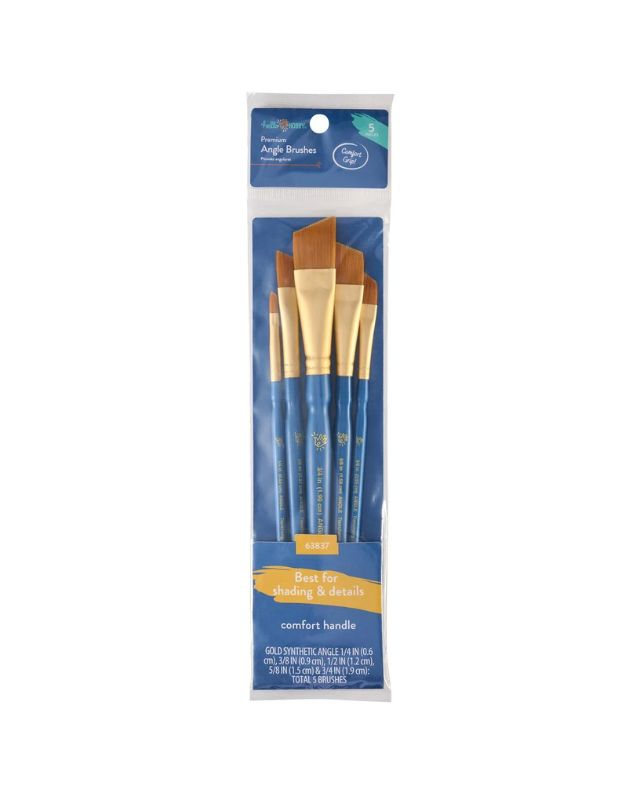
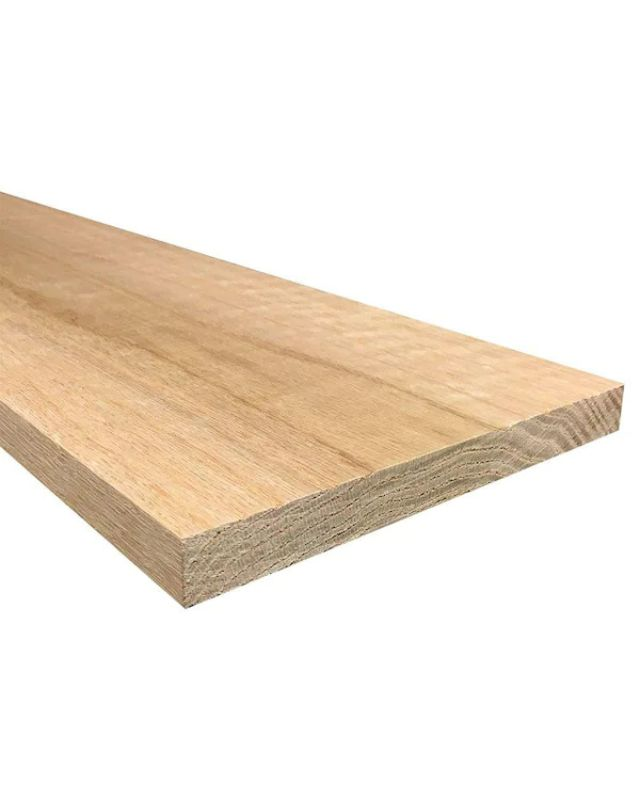
Best Types of Paint for Porch Signs
If you’re using what you already have, perfect! But if you’re buying new paint, here are some good options:
- Acrylic craft paint – Affordable and easy to work with.
- Outdoor acrylic paint – Best for porches that receive direct weather.
- Chalk paint – Creates a beautiful matte country-style finish.
- Exterior latex paint – Great for maximum durability outdoors.
Crafting Tip
Seal your finished sign with a clear protective coat if it will be exposed to rain, humidity, or direct sunlight.
Choosing the Right Board Size
- Small Boards (6–8 inches wide, 12–18 inches tall): Great for short words like Home, Bloom, Gather, or Hello.
- Medium Boards (12–14 inches wide, 24–30 inches tall): Perfect for phrases like Come On In, Stay Awhile, Homestead, Farmhouse, or Welcome Friends.
- Large Boards (12–16 inches wide, 48 inches tall): Make a statement with longer sayings such as Welcome to Our Home, Welcome to the Farm, Bless This Home, or a vertical Farmstand sign using the printable letters from The Country Living Toolkit.
- If you don’t have scrap wood handy, inexpensive pine boards from the hardware store work fine.
For my sign, I used an old, weathered board similar to the medium-size above. The reclaimed wood gave it plenty of rustic character, and the leftover green chalk paint created a soft, welcoming look.
More Handmade home posts to Explore
How to Make a Welcome Porch Sign
SET UP YOUR SPACE
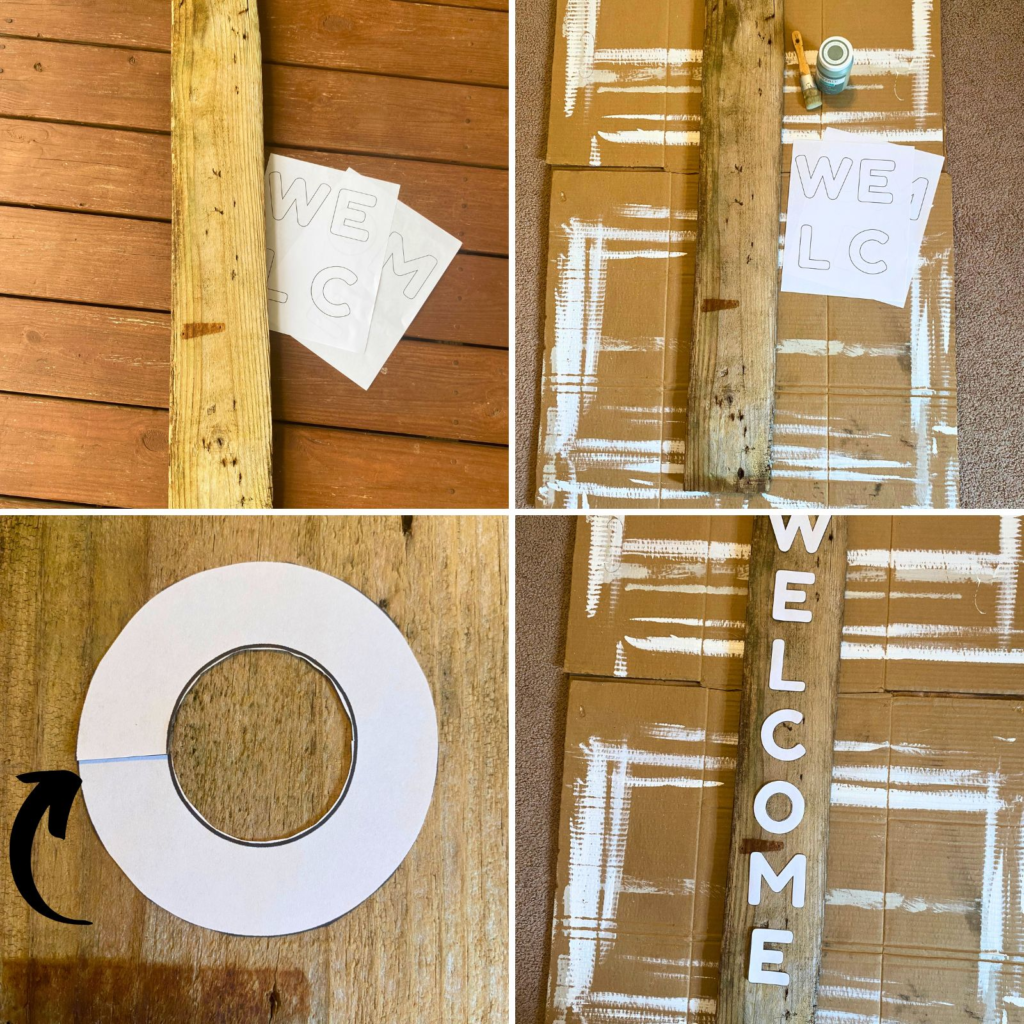
Place cardboard or a drop cloth under your board to protect your work area.
PAINT YOUR BASE COAT (optional)
Clean the board, then paint or stain it. Allow the paint to dry completely before moving to the next step.
DOWNLOAD & PRINT LETTERS
Grab the free printable Welcome letters from The Country Living Toolkit. Print them on cardstock (for easier tracing) or regular printer paper.
CUT & ARRANGE
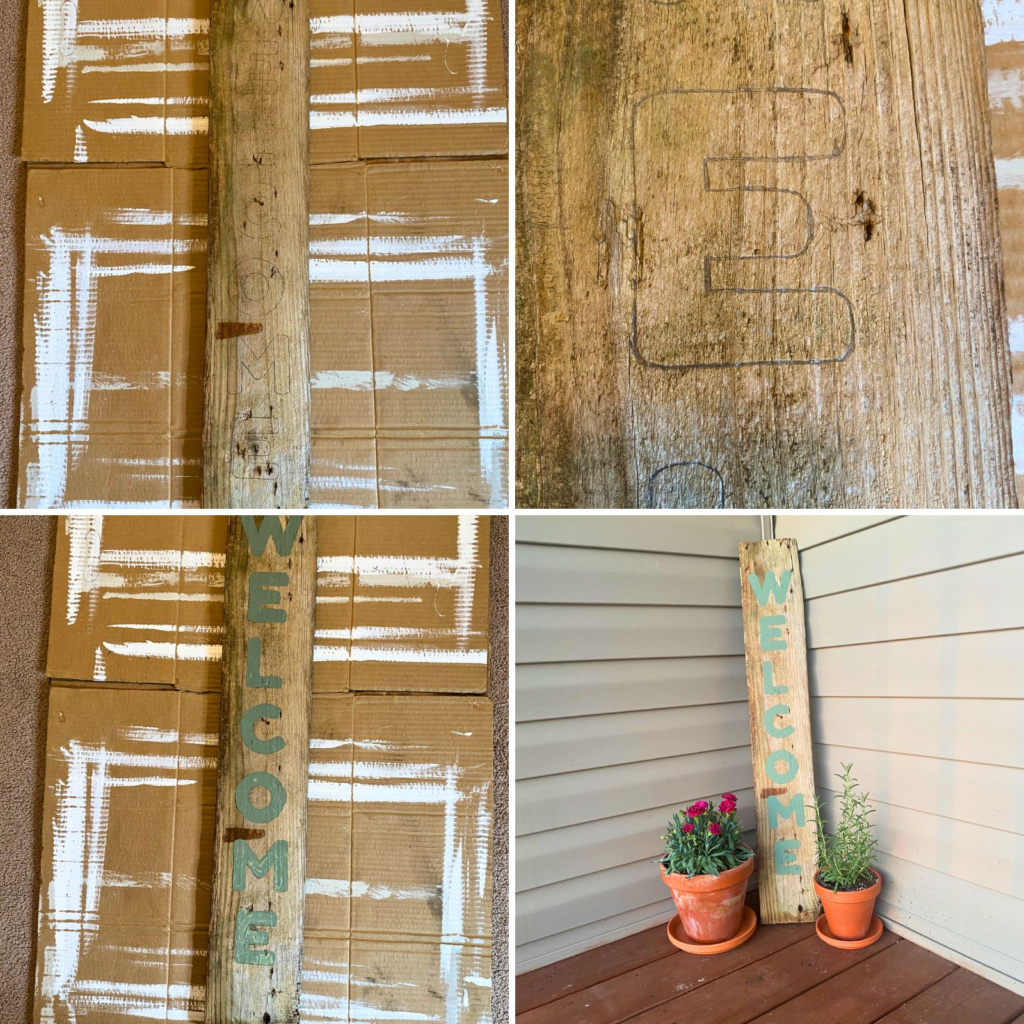
Cut out the letters, tape them in place, and lightly trace around them with a pencil. Arrange the letters before tracing to make sure you’re happy with the spacing.
Tip: Cut through letters like O and A to make cutting easier. They will lie flat once you tape them for tracing. (See the image below.)
PAINT YOUR LETTERS
Fill in your outlines with your chosen paint color. Two to three coats may be needed for bold coverage.
DRY COMPLETELY
Allow the sign to dry for several hours or overnight.
DISPLAY YOUR WORK
Lean it beside your front door, prop it on your porch, or pair it with planters, lanterns, flowers, or seasonal decorations.
Porch Sign Saying Ideas
Make more than one sign for different seasons. Use a free design program like Canva or even Microsoft Word to create custom letters. You can also find more free printable letters in the Country Living Toolkit.
Spring/Summer Sign Ideas
- The Farmhouse
- Bloom
- Fresh Flowers
- Homegrown
- In the Garden
- Farm Fresh Eggs
- Hello Spring/Summer
- The Homestead
- Homegrown
- Porch Time
Etsy Shop
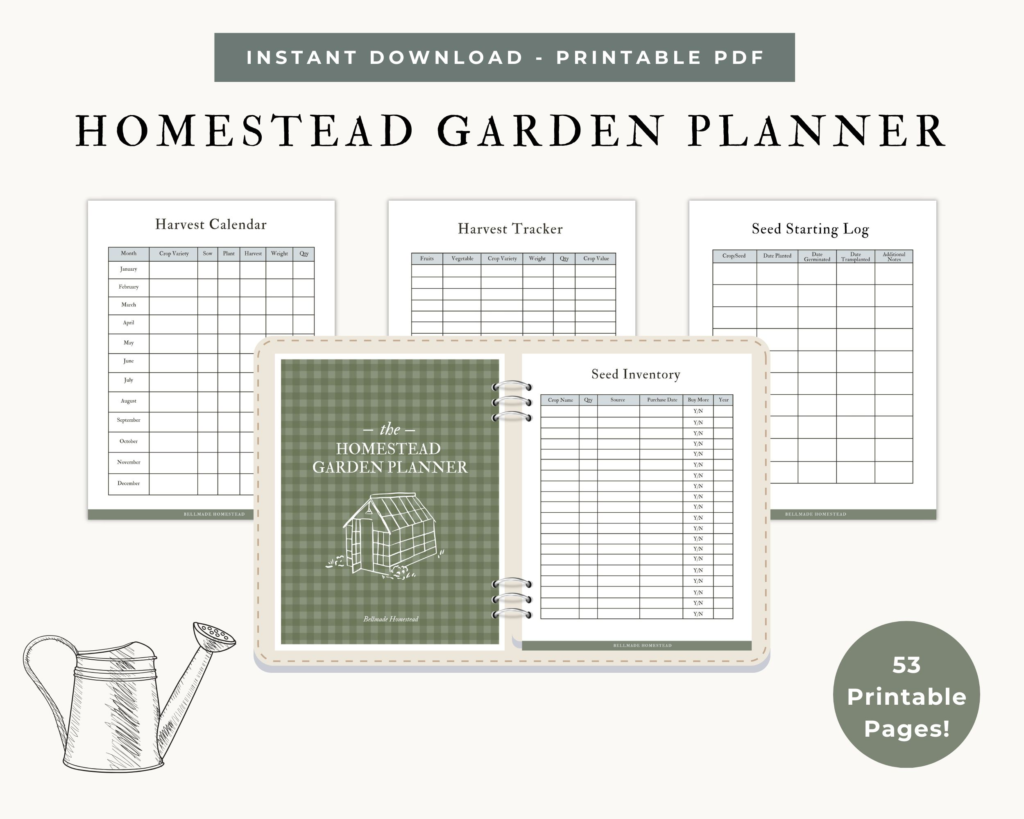
Homestead Planners
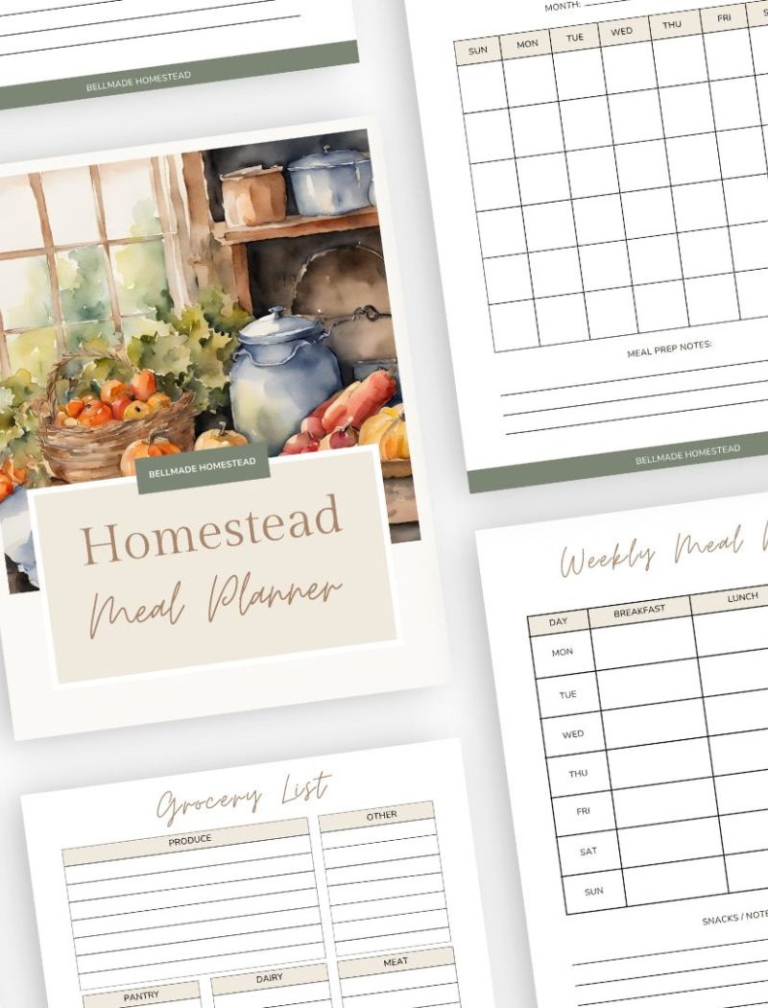
Simple planners to help bring a little more calm and organization into everyday homestead life.
Anytime-of-Year Sign Ideas
- Welcome
- Home
- Gather
- Welcome to the Farm
- Come On In
- Home Sweet Home
- Bless This Home
Fall/Winter Sign Ideas
- Harvest
- Halloween
- Christmas
- Merry
- Joy to the World
Free Printables to Make It Easier
To help with this project, I’ve created printable Welcome letters that you can download from The Country Living Toolkit.
Just download, print, and you’re ready to go, no cutting machine or special stencils required.
Inside the toolkit you’ll also find garden planners, recipe cards, labels, seasonal printables, and other resources designed to help you create a beautiful handmade country life.
Sign up below to get your free printables today!

Free Resource library
The Country Living Toolkit
Frequently Asked Questions
A Warm Welcome Starts at the Front Porch
Making a homemade welcome porch sign is such a simple, budget-friendly way to add warmth to your home. With a scrap wood board, a little paint, and some creativity, you’ll have a handmade piece of decor that feels welcoming in every season.
Don’t forget to grab your free printable Welcome letters from the Country Living Toolkit to make the lettering quick and easy. Then find the perfect spot on your porch and enjoy the charm it brings to your country home.
Homemade Welcome Porch Sign
Equipment
- Scrap wood board
- Paint
- Free printable sign letters
- Clear protective sealer (optional)
- Paint brush or foam brush
- Printer
- Scissors
- Pencil
- Tape
- Dropcloth or cardboard
Instructions
- Protect your work surface with a drop cloth or cardboard.
- Clean the wooden board and paint the background. Allow it to dry completely.
- Apply a second coat if needed.
- Download and print the free Welcome letters from the Country Living Toolkit.
- Cut out and arrange the letters on the board.
- Tape the letters in place and trace them onto the board.
- Paint the lettering and let it dry completely.
- Seal the sign if desired and display it on your porch.
Notes
- Reclaimed wood gives the sign extra country-style character.
- Chalk paint creates a beautiful matte finish, but acrylic or exterior paint also works well.
- Customize your sign with different paint colors or sayings to fit the season or your home’s style.
Did you make this DIY porch sign?
If you made this DIY, be sure to rate it and leave a comment below! Craving more? Follow along with me on Pinterest for more handmade home inspiration!
Pin for Later