How to Make Dried Apple Slices
Looking for a wholesome, homemade snack you can make ahead and keep on hand for busy days? These dried apple slices are one of my favorite ways to preserve the season’s harvest. They’re naturally sweet, full of fiber, and perfect for tucking into lunchboxes, road trip bags, or your pantry snack basket.

If you’ve never used a dehydrator before, this is the perfect beginner-friendly recipe. Just slice, dry, and store—no fancy steps or special ingredients. It’s a simple way to make something your whole family will enjoy!
Why You’ll Love These Dried Apple Slices
Dried apples are especially handy during fall, but we love making them year-round to keep a taste of the harvest close at hand. Pair them with walnuts and cheddar, add to oatmeal or trail mix, or enjoy straight from the jar.
more Recipes From the Homestead Kitchen
Helpful Tools
Here’s what I use when making dried apple slices at home:
- Dehydrator – Any basic model works. I use a round one with adjustable temperature.
- Apple Peeler – Speeds up the prep if you’re working with a large batch.
- Sharp Paring Knife or Apple Slicer – For thin, even slices.
- Cutting Board – Choose one with a groove to catch juice.
- Mason Jars or Airtight Containers – For storing the dried slices.
How to Make Dried Apples Slices
Ingredients
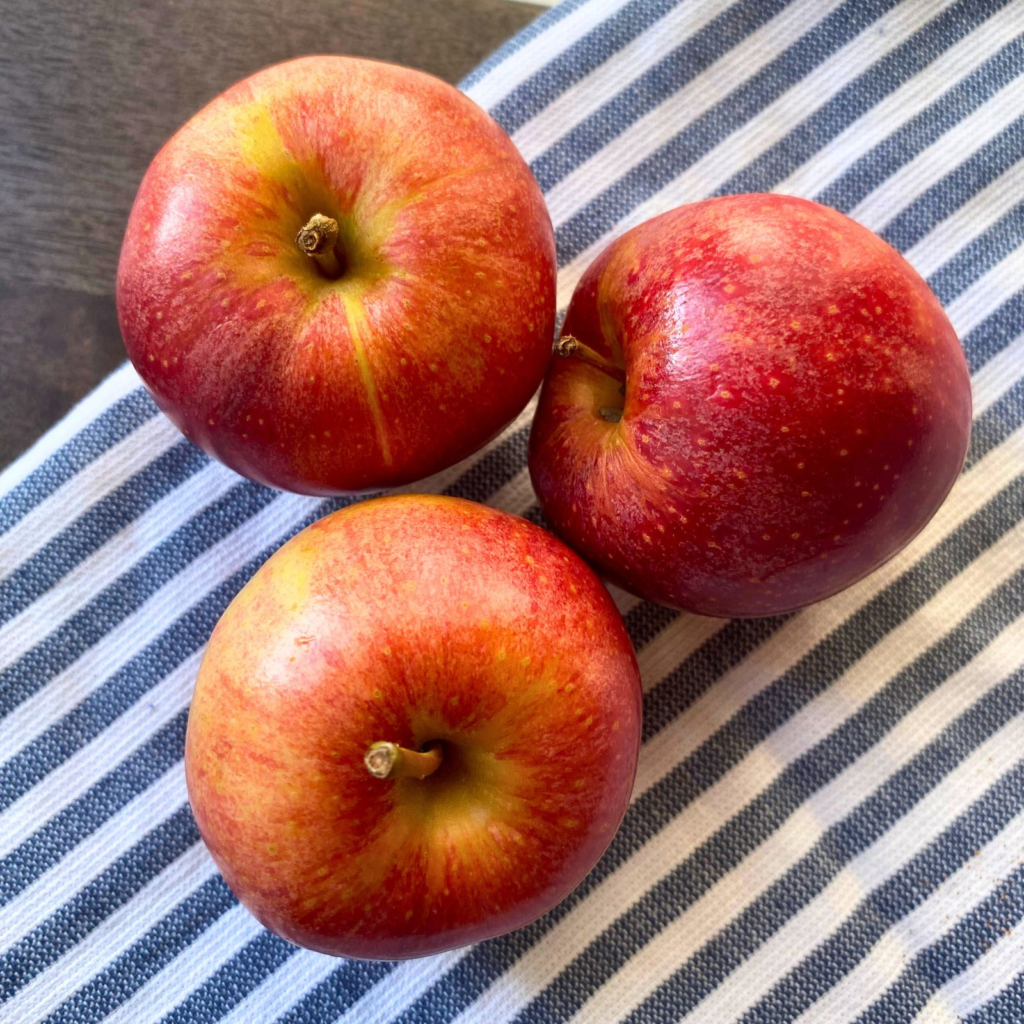
- Apples (Gala, Fuji, Granny Smith, or your favorite type)
- Ground Cinnamon (optional)
Directions
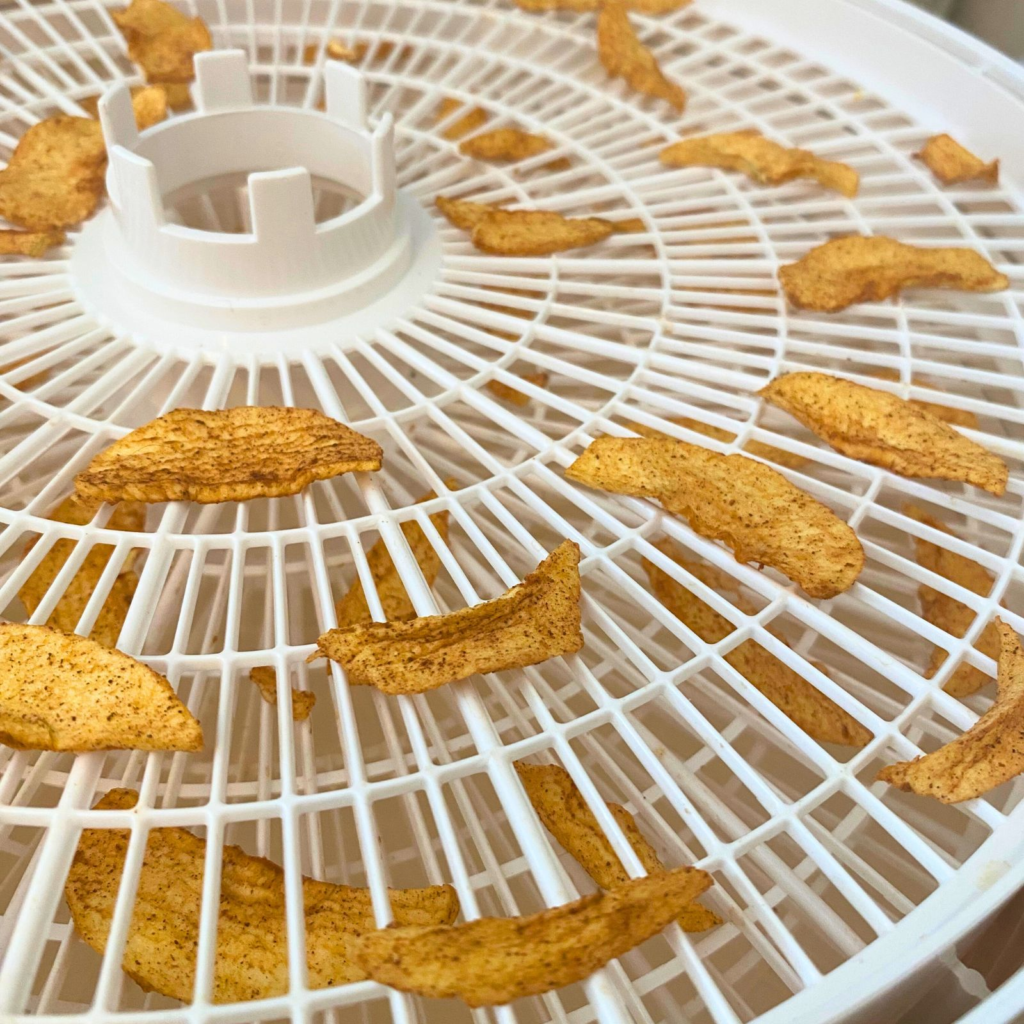
- Peel, core, and slice apples into thin slices or rounds, about 1/8 inch thick.
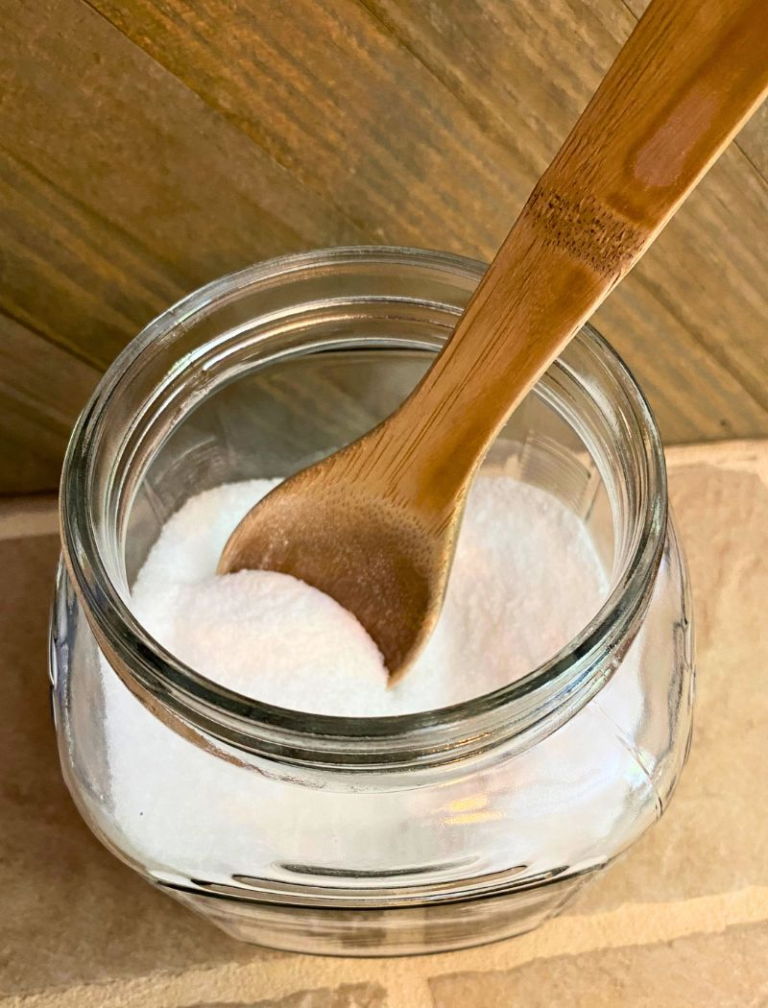
- Optional: Sprinkle with ground cinnamon for a warm, cozy flavor.
- Arrange slices on dehydrator trays in a single layer with space between each piece.
- Set the dehydrator to 135°F and dry for 8–10 hours until slices are dried.
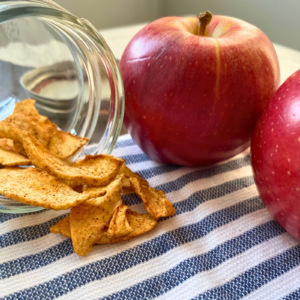
- Cool completely, then store in airtight jars in a cool, dark place.
Storage & Serving Ideas
A Sweet Way to Preserve Fall
There’s something deeply satisfying about preserving food from scratch, and these dried apple slices are one of the easiest ways to get started. They capture the simple goodness of the season and turn it into a snack you’ll be reaching for again and again. Whether you’re building a healthier pantry or prepping for the busy back-to-school season, this is a recipe you’ll come back to every fall.
Dried Apple Slices
Equipment
- Dehydrator
- Peeler
- Knife
- Mason Jar for storing
Ingredients
- Apples Gala, Fuji, Granny Smith, or any favorite type
- Ground Cinnamon optional
Instructions
- Peel, core, and slice apples into thin slices or rounds, about 1/8 inch thick.
- Optional: Sprinkle with ground cinnamon for a warm, cozy flavor.
- Arrange slices on dehydrator trays in a single layer with space between each piece.
- Set the dehydrator to 135°F and dry for 8–10 hours until slices are dried.
- Cool completely, then store in airtight jars in a cool, dark place.
Notes
- Keep your dried apples in mason jars or airtight containers in the pantry for up to 6 months.
- If they feel soft or sticky later, pop them back into the dehydrator for a quick refresh.
- Try pairing dried apple slices with walnuts and sharp cheese for a balanced snack.
- Toss a handful into oatmeal, trail mix, or homemade granola for added sweetness and texture.
Did you make this recipe?
If you tried this recipe, be sure to rate it and leave a comment below! Craving more? Follow along with me on Pinterest for more delicious recipes & meal inspirations!
Pin for Later


Join the List
One Comment